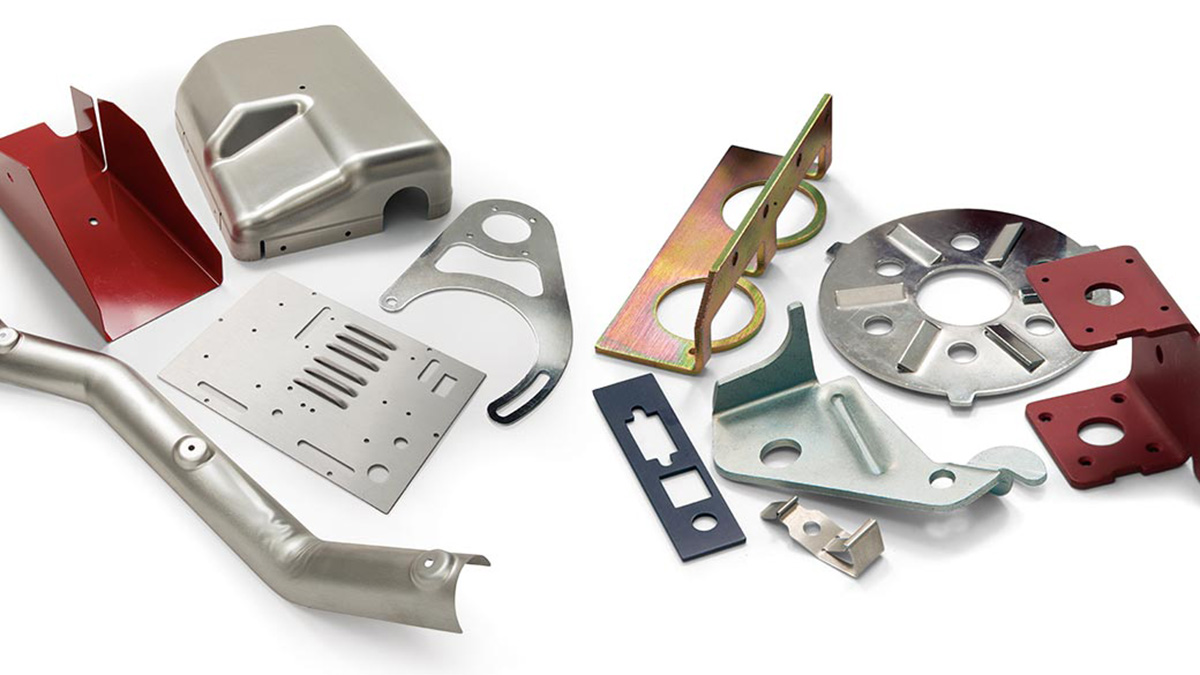
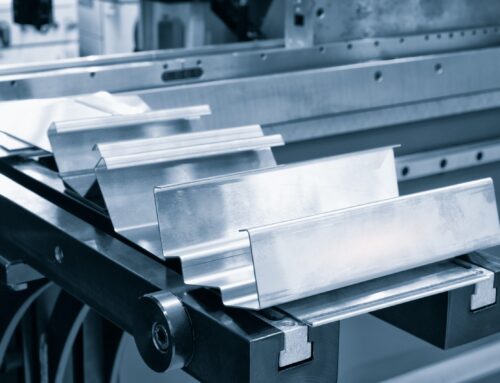
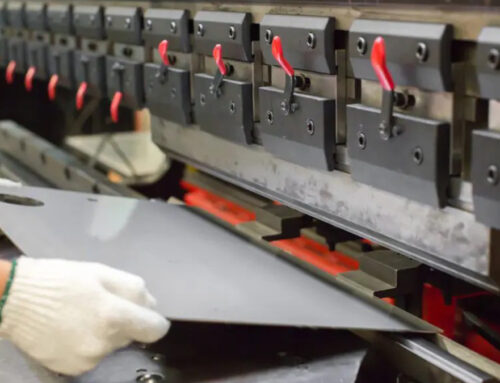
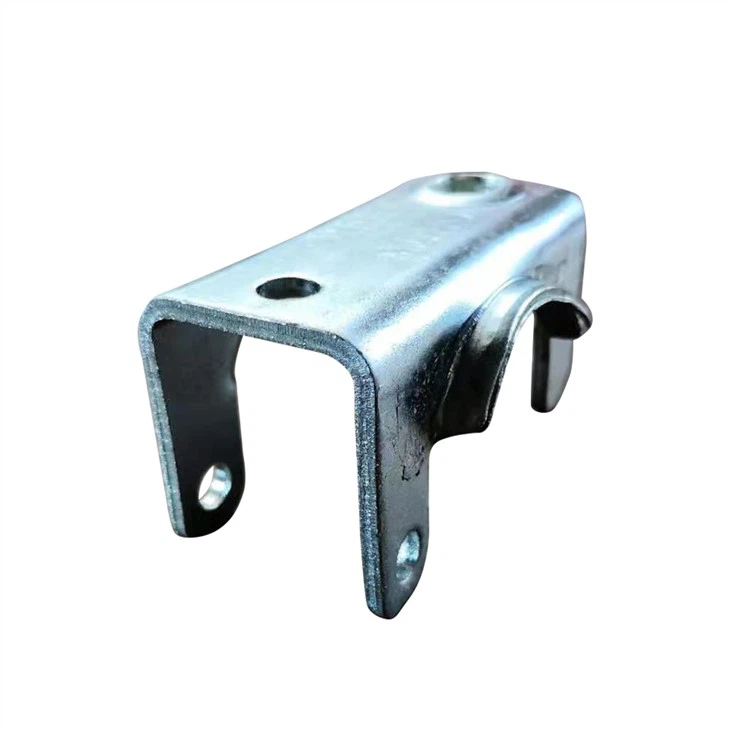
In the fields of precision manufacturing such as home appliance panels and vehicle exterior panels, AL5052 aluminum sheet stamped parts have become the core components due to their excellent corrosion resistance and formability. But the quality control of such products is often a pain point for manufacturing enterprises – from raw material selection to finished product packaging, any negligence in any link can lead to defects. True quality control begins with a consensus of ideas and ends with the implementation of the entire process. As the experienced sheet metal punching company, now we will break down the core logic and practical methods of quality control based on the production practice of AL5052 aluminum stamped parts.
- 1. Quality Cornerstone: Clear Consensus First, Then Implement Standards
- 2. Cognitive Premise: Characteristics of AL5052 Aluminum Sheet
- 3. Core Links: Full Process Inspection Standards and Practical Points
- 4. Process Challenges: Defect Prevention and Solution Plans for Stamping and Cleaning
- 5. Abnormal Handling: Quick Solutions for White Spots and Yellow Spots
1. Quality Cornerstone: Clear Consensus First, Then Implement Standards
To do a good job in quality control, the first step is to break the misconception that “quality equals inspection”. Essentially, quality is the process of transforming customer needs into executable judgment criteria, achieved through continuous optimization of production processes for process control, rather than relying on post inspection remedies. This conceptual consensus needs to permeate into the work of every employee, forming a quality culture of full participation.
In the production of AL5052 aluminum stamped parts, we need to establish five core quality concepts:
(1) Customer-oriented, taking the satisfaction of core demands such as assembly accuracy and appearance as the starting point of work;
(2) Firmly believe that quality is the life of an enterprise, and excellent stamped parts quality is the key to winning the market;
(3) Pursue first-class standards to ensure product accuracy and stability exceed customer expectations;
(4) Strictly observe each process checkpoint to ensure that no defective products flow into the next process;
(5) Clarify that quality is not the responsibility of any individual, and everyone from operators to quality inspectors must bear respective responsibilities.
2. Cognitive Premise: Characteristics of AL5052 Aluminum Sheet
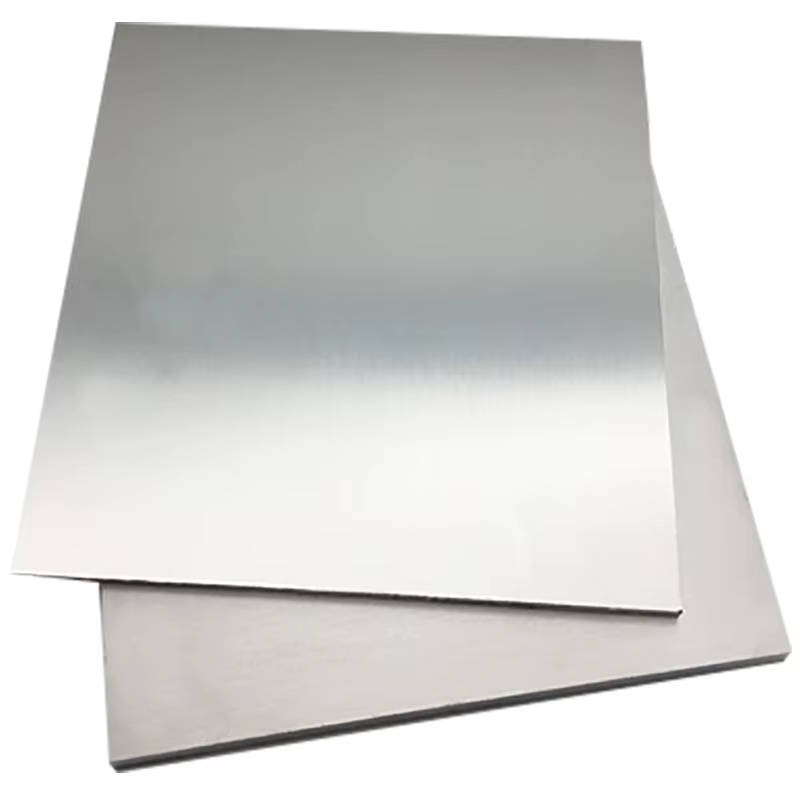
The precision of quality control comes from a deep understanding of material properties. The AL5052 aluminum sheet we commonly use has clear specifications: temper H32, the hardness 60. On this basis, it has distinct performance advantages: excellent corrosion resistance, especially resistant to seawater corrosion; Good processing formability and weldability, able to easily adapt to complex stamping processes; The anode has excellent self-care performance, providing great convenience for subsequent surface treatment processes. These outstanding features make it a preferred material in multiple fields, widely used in home appliances, optical instrument panels, vehicle and ship components, as well as in scenarios such as truck and container exterior panels.
But behind the advantages, there are also hidden processing risks: the surface of the aluminum sheet is relatively soft and prone to scratches, while its strong ductility may cause cracking during convex hull forming. These characteristics determine that the quality control of AL5052 stamped parts must be “adapted to material characteristics” and achieve precise matching in process design and parameter adjustment.
3. Core Links: Full Process Inspection Standards and Practical Points
The quality control of AL5052 aluminum sheet stamped parts lies in establishing a “full process inspection” system, with clear inspection priorities for each type of product from basic stamped parts to secondary processing parts.
3.1 Metal Stamped Parts: Dual Control of Appearance and Dimensions
Appearance is the first element of customers’ intuitive perception of quality, and it is necessary to focus on investigating seven core defects, each with clear judgment criteria:
(1) Surface defects, including dirt, oil stains, and oxidation rust, can directly affect subsequent cleaning and surface treatment effects, and even lead to a decrease in coating adhesion;
(2) Congenital defects in raw materials, such as inherent corrosion or bumps, cannot be eliminated through subsequent processing and can directly lead to the scrapping of finished products;
(3) Scratch issues must be strictly distinguished between tangible scratches (which can be perceived by touch) and intangible scratches (which are only visually visible and have a smooth touch). The former is usually judged as a defect, while the latter needs to be judged based on specific customer standards;
(4) Defects in molding marks, including wrinkles at bends, scrap marks caused by jumping scrap, and die marks caused by uneven mold pressure;
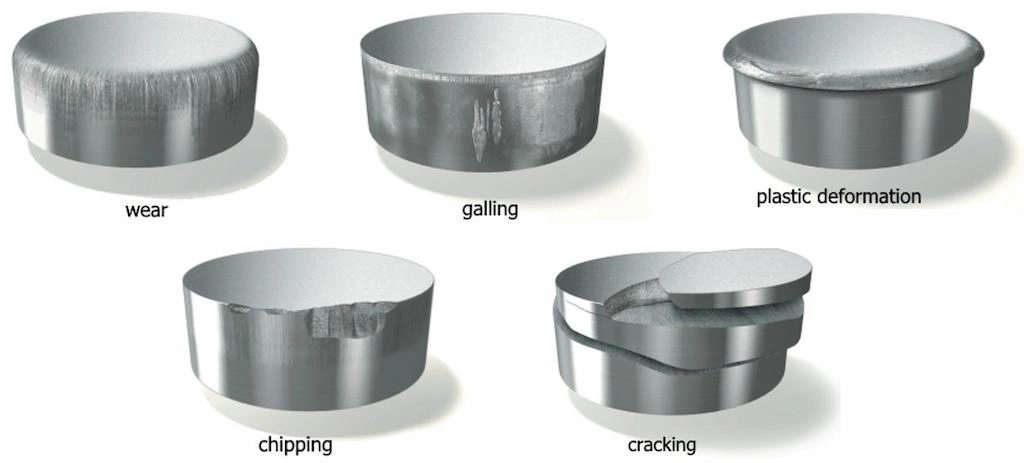
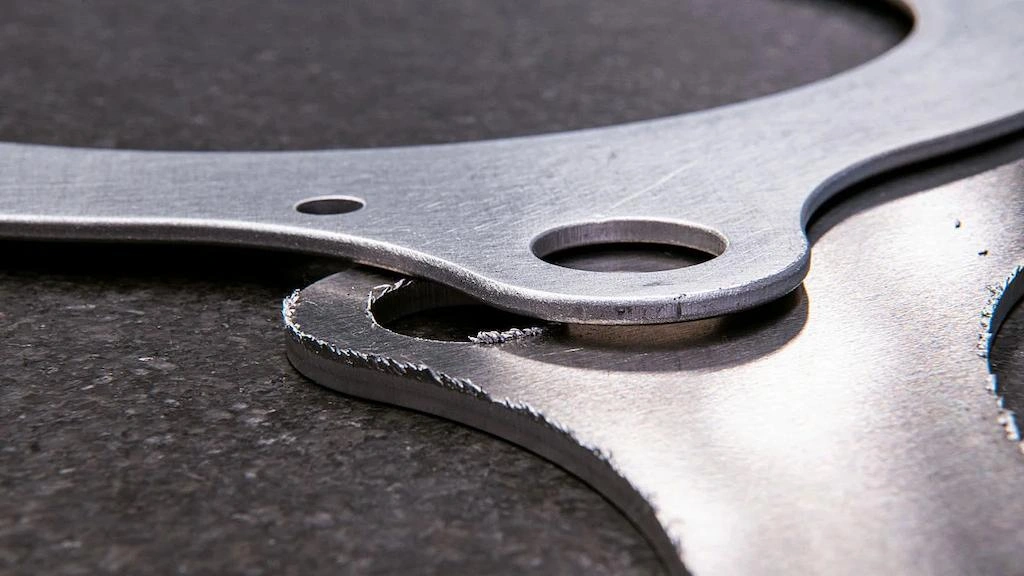
(5) Structural defects, including burrs (irregular edges generated after punching or bending), cracks (material fracture caused by forming stress), and deformations (dimensional deviations from the required form on the drawing);
(6) Clarity of identification, i.e. the clarity of font printing, ensuring traceability of product identification;
(7) Completeness defects, such as missing machining holes or missing execution of a production project, can directly lead to product functional failure.
Dimensional inspection is the core of ensuring assembly performance, covering four major dimensions and following clear practical specifications:
(1) Full dimension inspection, which means measuring all dimensional parameters of the product one by one according to the drawing requirements to ensure no omissions;
(2) Geometric dimension and tolerance inspection, including geometric tolerances such as flatness, perpendicularity, parallelism, etc., which directly affect the fitting accuracy between components;
(3) Key control dimension inspection, strengthening inspection of key dimensions marked in the drawings (such as assembly hole positions and fitting surface dimensions), usually using higher precision measuring tools;
(4) After repairing the mold, it is necessary to focus on rechecking the dimensions affected by the mold repair to ensure that the repair effect meets the requirements.
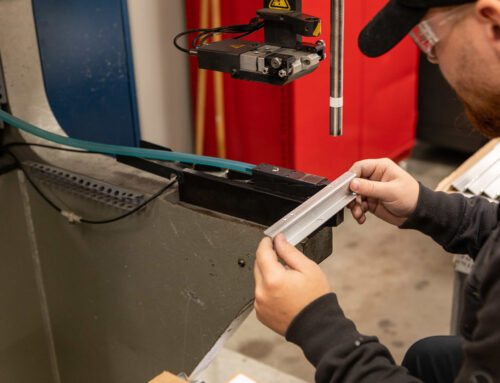
In practical operation, two key details must be noted: if the bending block of the product is long, measuring at a single position is prone to errors. The bending block must be divided into multiple sections and measured separately, and then summarized to determine the overall dimensional accuracy; After the machining of the threaded hole, it is impossible to accurately determine the thread fit by simply measuring with a caliper. Corresponding standard parts (such as standard bolts and thread gauges) must be used for thread fit testing to ensure that the thread accuracy meets the assembly requirements.
3.2 Secondary Processed Parts: Focus on Structural Reliability and Compatibility
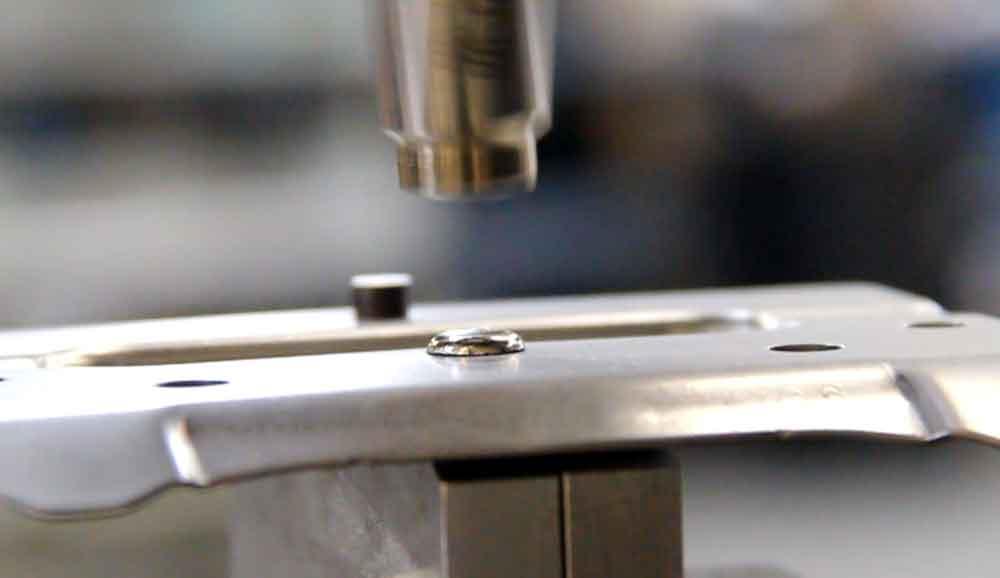
The quality of the secondary processing directly determines the final assembly performance of the product. The inspection of riveted parts, tapping holes, and composite parts each has its own key points. As the core structural component, riveted parts need to be comprehensively inspected from six dimensions:
(1) The flatness of the riveting surface ensures that the surface is flat after riveting, without protrusions or depressions;
(2) Appearance quality, check for defects such as burrs, material fractures, and surface scratches generated during the riveting process;
(3) The riveting gap, which refers to the gap between the rivet and the riveted part, should be controlled within the allowable range of the drawing to avoid loosening;
(4) Perpendicularity, check the degree of perpendicularity between the rivet axis and the riveting surface to prevent tilting from affecting force;
(5) Riveting dimensions, measuring the key dimensions of the riveted area to ensure compliance with assembly requirements;
(6) Mechanical performance testing must be carried out through destructive tests of push-pull force to verify the tensile and shear resistance of the riveted joint, ensuring that there will be no looseness or detachment during use.
The inspection of threaded holes should balance functionality and appearance, and the accuracy of threads should be verified with standard specifications. The surface of threaded holes should not have defects such as rust. The combination component focuses on compatibility and firmness, ensuring that there is no looseness or interference after the assembly of multiple components, and meeting the overall usage requirements.
4. Process Challenges: Defect Prevention and Solution Plans for Stamping and Cleaning
The common defects of AL5052 aluminum sheet stamped parts are mostly concentrated in the two major processes of stamping and cleaning treatment. Mastering the root causes and handling methods of defects is the core capability of quality control.
4.1 Stamping Forming: Precise Control of Molds and Parameters
The stamping process (six step process) is prone to six major problems that require targeted solutions:
(1) The burr problem is mainly caused by unreasonable gap between molds or improper control of material pulling, and it is necessary to adjust the mold fitting accuracy in a timely manner;
(2) The stepped shape at the bend is caused by insufficient accuracy of the mold bending block or roller, and requires mold repair;
(3) Indentation defects are related to jumping scrap or mold marks, and it is necessary to optimize the discharge method and the surface condition of the mold;
(4) The rupture of convex hull can be improved by adjusting the height of the mold slider;
(5) Poor bending dimensions are often caused by uneven wear during the production of long bending blocks. It is necessary to regularly check the accuracy of each section of the mold and repair it in a timely manner;
(6) If the boss dimension is poor, it can be solved by adjusting the slider height or punch forming height.
4.2 Riveting Processing: Precise Positioning to Eliminate Structural Defects
The AL5052 aluminum plate stamped parts need to be fixed structurally with nine rivets (riveted by three riveting machines), and the defects in this process directly affect product safety. Loosening the bottom of rivets is often due to residual burrs in the riveting holes, and it is necessary to strengthen the hole cleaning before riveting; The bottom stamping of rivets is caused by the misalignment between the riveting machine and the riveting die, and the positioning accuracy of the equipment needs to be calibrated; The edge collision of the threaded hole is caused by the misalignment between the rivet machine guide pin and the rivet center hole, and the equipment alignment parameters need to be readjusted.
4.3 Cleaning Treatment: Parameter Control to Solve White Spots Issues
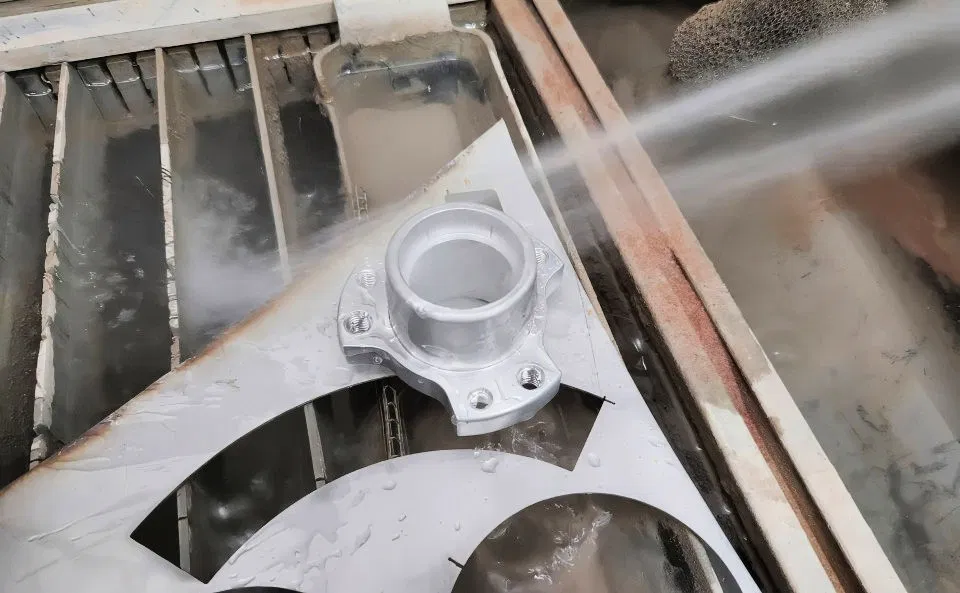
Aluminum sheet cleaning is a key process to ensure surface performance and corrosion resistance. The core goal is to remove surface oil stains and form protective oxide films through a systematic process of “degreasing neutralization film formation drying cooling”, eliminating defects such as white spots and yellow spots. Based on the configuration of the ultrasonic cleaning machine with 12 main tanks and 3 additional tanks, the operating standards and control points for each link are disassembled as follows:
The entire cleaning process can be divided into five core stages, and the parameters of each stage must strictly match the characteristics of AL5052 aluminum sheet. The specific requirements are as follows:
(1) Degreasing Stage (Tank 1-3): Thoroughly remove oil and lay a clean foundation.
- Function: By combining alkaline solvents with ultrasonic vibration, it decomposes oil stains such as stamping oil and cutting oil on the surface of aluminum sheets, clearing obstacles for subsequent processing.
- Tank Configuration:Tank 1-2 are ultrasonic thermal degreasing tanks, and Tank 3 is a thermal degreasing tank, both using alkaline cleaning agents.
- Core Parameters:Concentration 10.5-12.5PT, temperature 52-55 ℃, alkali ratio ≤ 2.1 (if it exceeds 2.1, the liquid needs to be replaced immediately).
- Cleaning Time:45-55 seconds for blue film workpieces, 36-45 seconds for white film workpieces.
- Operation Points:Ensure that the workpiece is completely submerged, the ultrasonic power is stable, and regularly salvage the floating oil in the tank.
(2) Primary Rinse Stage (Tank 4-5): neutralize residual alkali to prevent secondary pollution.
- Function:Rinse the residual alkaline degreaser on the surface of the workpiece with tap water to avoid defects caused by the reaction between residual alkali and acidic solution in subsequent processes.
- Tank Configuration:ordinary tap water circulation supply, equipped with overflow device.
- Core Parameters:Free Alkalinity (FAL) of tank 4 ≤ 3.0PT, Free Alkalinity of tank 5 ≤ 2.0PT, at room temperature.
- Cleaning Time:Consistent with the degreasing stage, 45-55 seconds for blue adhesive film and 36-45 seconds for white adhesive film.
- Operation Points:Monitor the free alkalinity daily, and open the water change valve for partial water change when it exceeds the standard.
(3) Surface Adjustment Stage (Tank 6): acid-base neutralization to improve surface smoothness.
- Function:Neutralize trace alkaline substances remaining on the surface of the workpiece through acidic solution, while refining the surface grains of the aluminum sheet, making the subsequent film formation more uniform.
- Tank Configuration: Acidic surface modifier, allowed to stand at room temperature.
- Core Parameters: FA concentration 8.0-9.5PT.
- Cleaning Time: 45-55 seconds for blue adhesive film, 36-45 seconds for white adhesive film.
- Operation Points: Regularly check the concentration of the solution to avoid insufficient neutralization caused by low concentration.
(4) Secondary Rinse and Film Formation Stage (Tanks 7-12): forming protection and enhancing corrosion resistance.
This stage is the core process segment, covering secondary rinsing, film formation, and pure water rinsing, which directly determines the antioxidant performance of aluminum sheets.
- Tanks 7-8 (Secondary Rinse): Rinse the surface adjuster with tap water at room temperature, and the cleaning time is consistent with the previous sequence.
- Tank 9(Film Formation): Acidic solution forms a dense oxide film on the surface of the aluminum sheet, with core parameters of pH 3.2-3.7 and FA free concentration 0.3-0.7PT, cleaned at room temperature.
- Tank10-11 (Pure Water Rinse): Rinse residual acid solution with deionized water, EC value (conductivity) ≤ 50 μs, at room temperature.
- Tank 12 (Hot Pure Water Rinse): Rinse with deionized water at 70-80 ℃, EC value ≤ 50 μs, which not only enhances the cleaning effect but also speeds up the drying process.
(5) Drying and Cooling Stage (Tanks 13-15): rapid setting, stable quality.
- Function: By combining air knifeand drying to remove surface moisture, and then cooling to ensure that the workpiece temperature meets the standard, it facilitates the subsequent MYLAR process.
- Tank 13(Air Knife Zone): High pressure air blows from top to bottom to preliminarily dry the surface moisture.
- Tank 14 (Drying Area):70 ℃ constant temperature, divided into 5 processes, each lasting 55 seconds, to ensure complete evaporation of moisture.
- Tank 15(Air Knife Zone): Room temperature air cooling, reducing the temperature of the workpiece to room temperature.
5. Abnormal Handling: Quick Solutions for White Spots and Yellow Spots
If white spots (often due to incomplete degreasing or uneven film formation) or yellow spots (often due to residual corrosion caused by incomplete pure water rinse) appear after cleaning, the following steps can be taken:
(1) Immediately stop the machine and manually wipe the defective area with a cleaning cloth dipped in reinforced cleaning agent to observe if it can be removed;
(2) Review and investigate the parameters of each tank: focus on checking the alkali ratio of tank 1-3, pH value of tank 9, and EC value of tank 10-12, and adjust them to the standard range;
(3) For workpieces with defects, perform a separate secondary cleaning to ensure that defective products do not flow into the next process.
It should be emphasized that the coating Tank 9 is the “key checkpoint” that determines the corrosion resistance of aluminum sheets. Even small fluctuations in pH value and FA free concentration can lead to thin or uneven coatings, which in turn can cause later oxidation and rust. Therefore, it is recommended to use automatic monitoring equipment to monitor parameters in real time, and manually review them every 2 hours to ensure accurate data. At the same time, the pure water rinse tank needs to be regularly replaced with deionized water to avoid residual problems caused by excessive EC values and eliminate various surface defects from the source.
The quality control of AL5052 aluminum stamped parts has never been a “point defense” in a single link, but a “chain control” covering “concept raw materials process inspection improvement”. From transforming customer needs into inspection standards, to involving all staff in quality assurance; From understanding the characteristic codes of AL5052 aluminum plate to precise control of stamping, riveting, and cleaning process parameters; From comprehensive inspection and defect detection to establishing traceability and improvement mechanisms, every step is indispensable. When every employee establishes the awareness of “quality in my hands”, every process has clear executable standards, and every type of defect has traceable improvement plans, product quality will naturally improve steadily, and the enterprise can also build its core competitiveness in fierce market competition.
Consistent quality control is a systematic endeavor that spans the entire product life cycle. We are committed to being your trusted partner on this journey. To learn more about sheet metal fabrication, please do not hesitate to contact us.
