Custom Manufacturing & Precision Machining Company
Pad Printing2025-09-05T05:28:35+00:00

Pad Printing

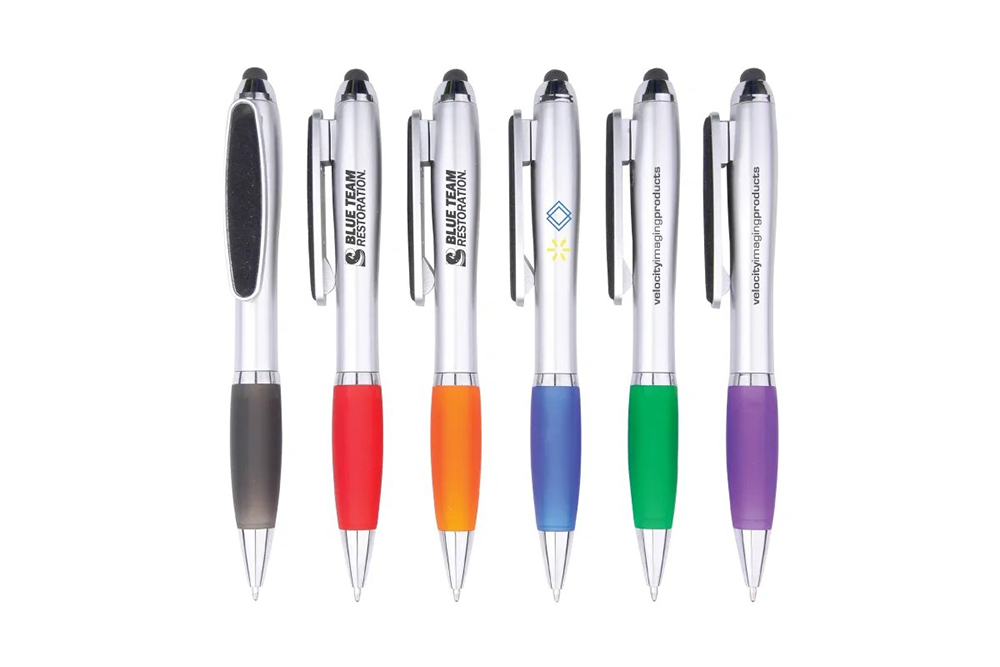
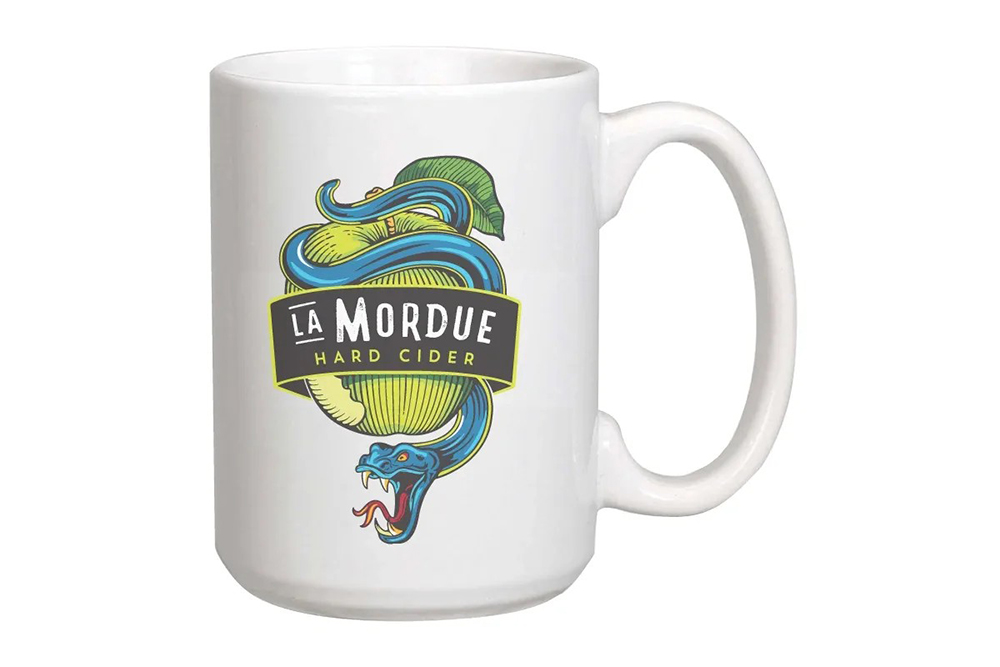
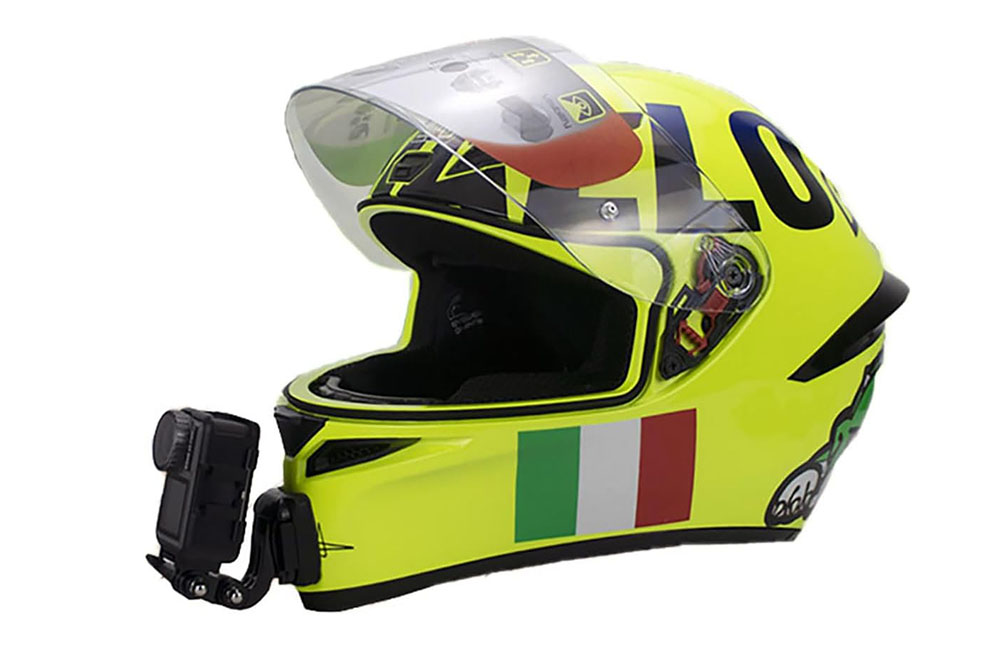
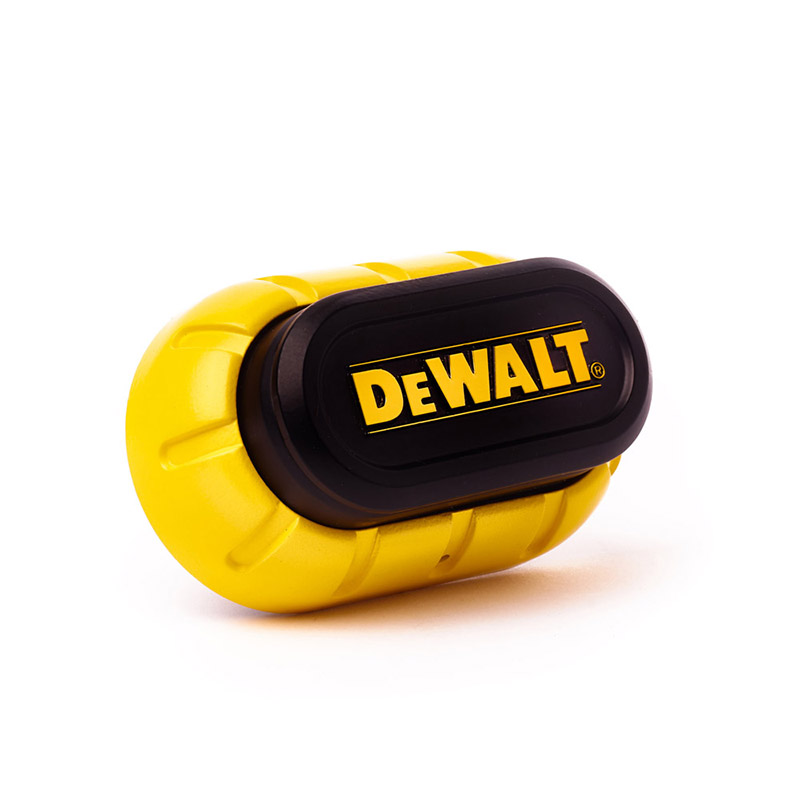
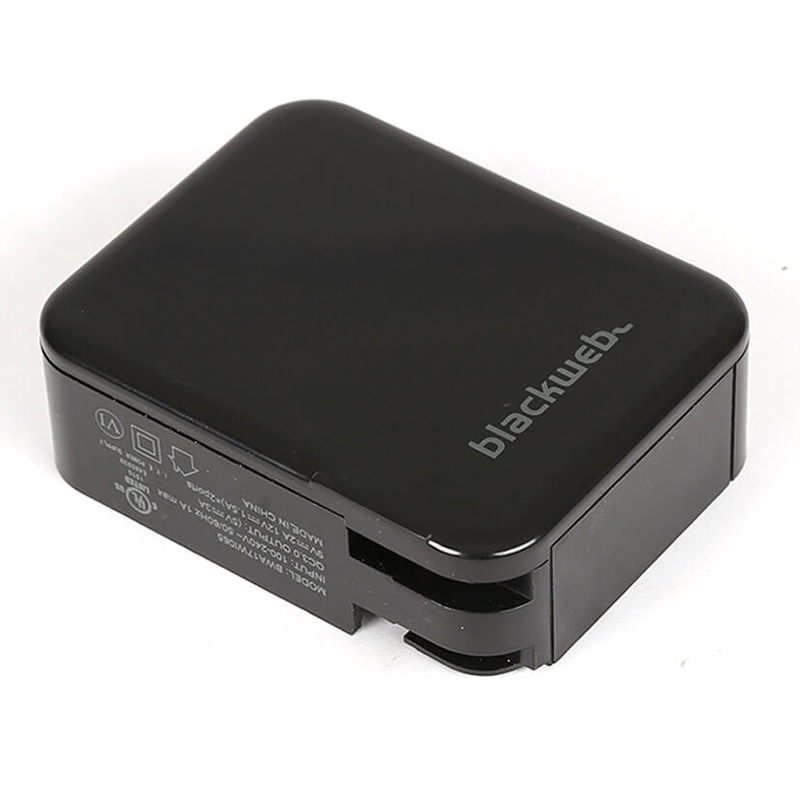
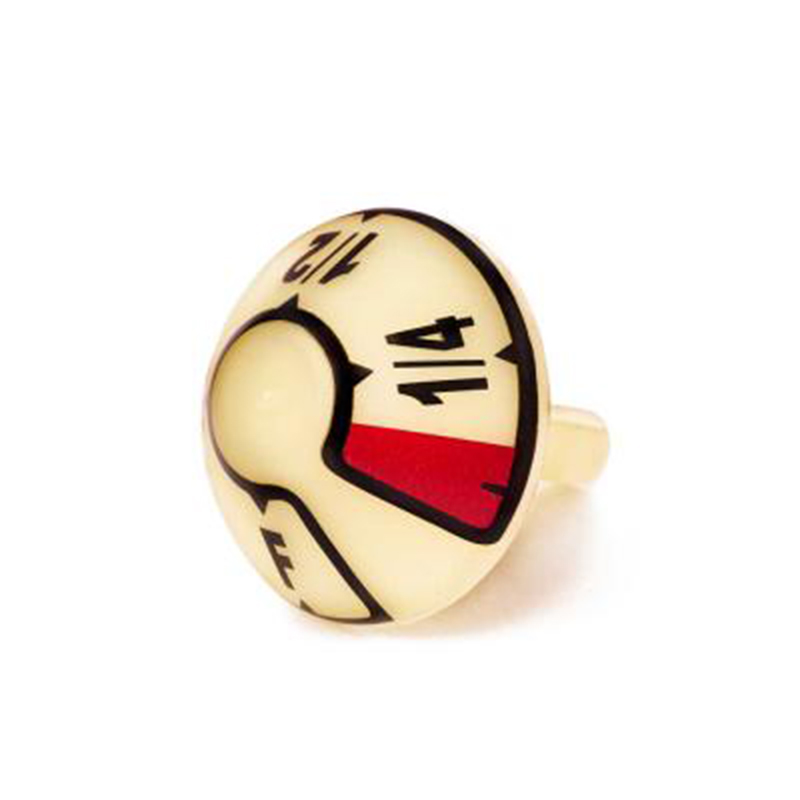
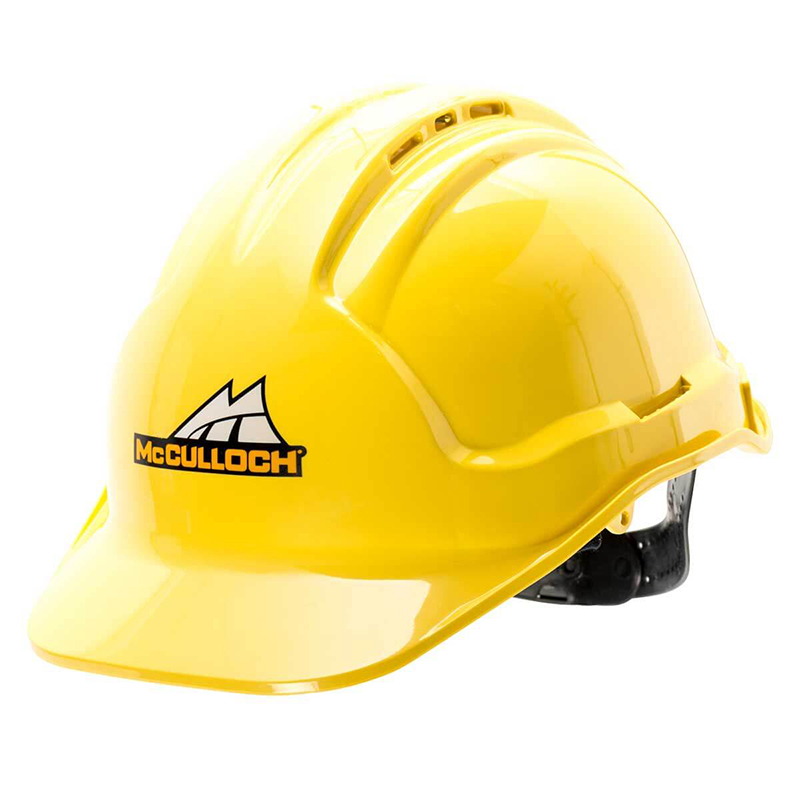
Struggling to print logos on curved, textured, or small parts? As a versatile solution for decorating complex shapes and hard-to-print surfaces with precision, whether you’re working with plastic, metal, or coated parts, our pad printing service delivers clean, consistent results across industries.
  • Suitable for printing on irregular and curved surfaces
  • Vibrant, long-lasting prints with fine detail
  • Single or multicolor capability
  • ISO 9001:2015 certified quality

What is Pad Printing?

To us, pad printing isn’t just a “printing method”, it’s the solution for surfaces other techniques can’t handle. Where screen printing struggles with curves, or laser engraving fails on soft plastics, pad printing shines.

Here’s how we make it work in our shop: A custom-molded silicone pad (we tweak its hardness to match your part’s shape: 30 Shore A for sharp edges, 70 for deep curves) picks up ink from a precision-etched plate, then presses it onto surfaces that feel “impossible”, like the rounded edge of an automotive dashboard button, the tiny 2mm recess of a medical device dial, or even the textured surface of a rubber grip.

We’ve built our process around real-world needs. Printing on ABS? We use a UV-cured ink that resists dashboard heat. On stainless steel? A primer-backed formula that passes 500+ wear tests. It’s why our clients come to us for logos that don’t fade on tool handles, serial numbers that stay legible on industrial parts, and tiny symbols that meet strict medical labeling standards.

Pad Printing: 6-Step Process Explained
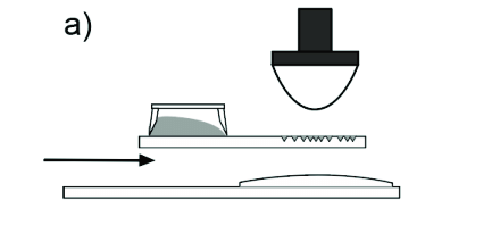
Schematic of pad printing process step 1

Step 1: Ink Plate Moves Beneath Pad
The ink plate (also called the cliché) containing the etched image slides into position directly under the silicone pad.
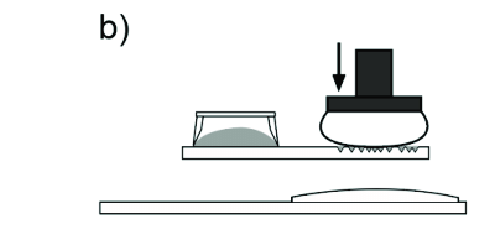
Schematic of pad printing process step 2

Step 2: Pad Picks Up Ink
The silicone pad presses down onto the ink-filled etched area, picking up a thin layer of ink in the shape of the design.
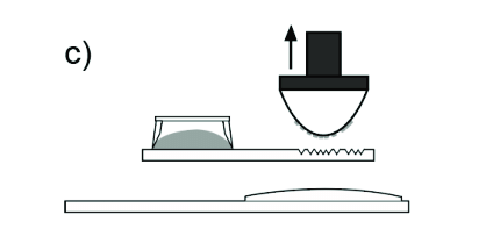
Schematic of pad printing process step3

Step 3: Pad Lifts Off
The pad lifts straight up, carrying the inked image on its surface.
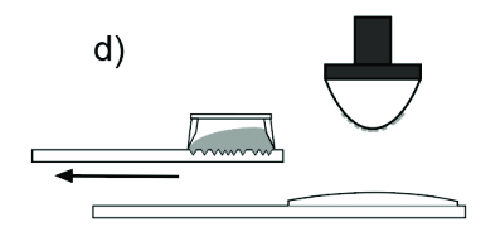
Schematic of pad printing process step 4

Step 4: Ink Plate Retracts
The ink plate moves out of the way to make room for the object being printed.
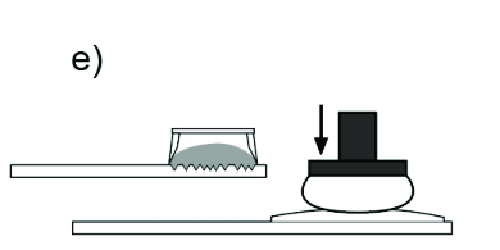
Schematic of pad printing process step 5

Step 5: Pad Transfers Image to Object
The pad presses down onto the object’s surface, transferring the ink from the pad to the product precisely.
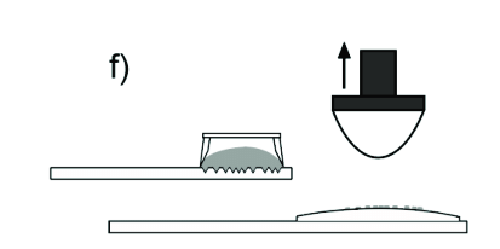
Schematic of pad printing process step 6

Step 6: Pad Lifts – Print Complete
The pad lifts away, leaving a clean, detailed image on the product. The print cycle is complete and ready for the next repetition.

Available Pad Printing Services

We specialize in pad printing for challenging surfaces: curved parts, tiny components, and materials from plastics to metals and rubber—areas where generic methods struggle. Unlike suppliers with one-size-fits-all silicone pads, we use custom 30-70 Shore A pads (50% longer-lasting, ink-resistant) plus UV-cured inks engineered for outdoor endurance.

Single Color Pad Printing

  • We don’t just “have” single-color pad printing machines, we’ve tweaked them to handle your part’s quirks. For tiny parts (like 3mm medical device buttons), we use compact, precision-calibrated presses with micro-adjustable pads to hit 0.5mm text without smearing. For larger components (think 10cm automotive plastic trim), our open-well systems lay down thick, even ink layers that resist dashboard heat.

  • Sealed-cup machines? We rely on them for oily or dusty shop floors—they keep ink from drying out mid-run, so your 5,000-unit batch of rubber grips gets the same deep black from first to last. And when you need a Pantone match? Our in-house mixer uses X-Rite spectrophotometers to nail ΔE < 1.

  • Every print traces back to our ISO 9001:2015 checks: we log pad pressure, ink viscosity, and cure times for every run. It’s not just compliance, instead, it’s how we fixed a client’s recurring fade issue by spoting their PP parts needed extra flame treatment before printing.

Multi-Color Pad Printing

  • Multi-color isn’t just about stacking hues—it’s about making them stick, align, and last on parts that fight back. We’ve retrofitted them with custom sensors that check color alignment mid-print, catching 0.01mm shifts before they ruin a batch.

  • Take the automotive trim we did last quarter: four colors, curved surface, textured plastic. Most shops would struggle with bleed, but our tooling team 3D-printed a fixture that holds the part rock-steady, while our ink tech mixed a base layer that grips the texture. So that logos can be printed with crisp edges, even where the plastic dips and rises.

  • Based on our extensive project experience in the past, we can precisely determine the duration of color transitions to avoid causing visual confusion. And yes, we test for wear: that sports equipment logo we printed with three colors? It survived 500+ wipes with a damp cloth, no chipping.

  • The ink we use and the final cost both comply with ISO 9001:2015. Moreover, we will keep the formula for each color, the setting of the mat hardness, and the speed of the rotating vehicle, so as to provide references for repeat orders. Therefore, when the customer places another order for 10,000 products six months later, the appearance will be exactly the same as the first batch of products.

Advantages of Choosing Us to Pad Print Your Product
surface treatment icon

We Master the Tough Stuff

Our ±0.02mm registration precision ensures logos line up perfectly on curved surface (in one case, automotive trim) where something generic services can’t match. And for that trim project, we built a custom pad (70 Shore A, with a slight taper) that hugs the curves, and a slow-dry ink that soaks into the texture.

production volume icon

We Scale Seamlessly

From 100 prototypes (ready in 3 days) to 100,000 units, with zero drop in quality and no other shop balances speed and consistency like we do. A client needed 100 prototypes of a small electronics part on Monday, then 50,000 units by month’s end. We ran the prototypes on our manual press (done in 2 days), then swapped to our automated line with the same ink, same alignment, and zero rework.

long-lasting result icon

Long-Lasting Results

Our pad-printed marks stand up to real-world abuse: tool handles with 1,000+ daily uses, outdoor gear baked under 3,000+ hours of sun. It’s not luck—our custom inks (tuned to your material) and pre-treatments (like flame-activating PP) lock in color, so the print outlasts the part.

quality control icon

We Back Every Print with Compliance

We back prints with proof. Medical clients get ink certs (ISO 10993, no phthalates). And for clients in automotives field, we send 3,000-hour UV test reports showing their logos won’t fade in sunlight. We replace empty promises with actual data.

color options icon

Wide Color Range

From single-color logos to full-color graphics, pad printing supports a broad spectrum of color applications. A toy company needed a neon pink that matched their packaging. So we mixed 12 test swatches, let them pick, then locked that formula in. No surprises, just prints that make your parts look like you imagined.

What Do You Need to Prepare for Pad Printing?
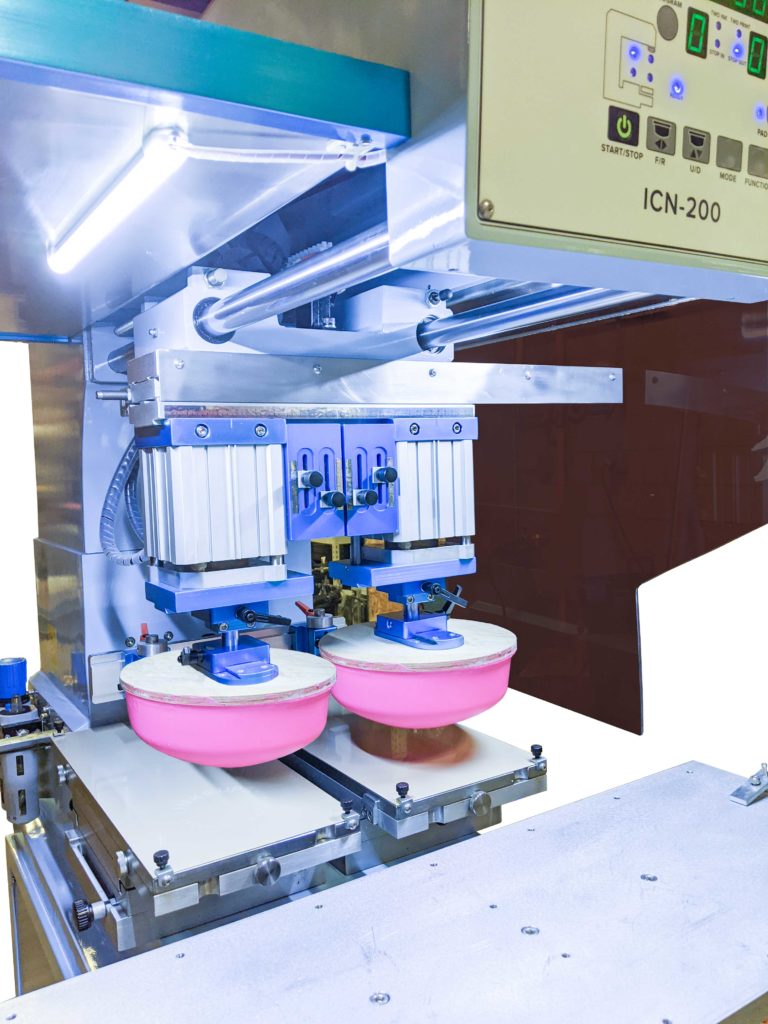
Starting your pad printing project with us is simpler than you might think—we’ve streamlined the process to 3 core steps that get things moving quickly: Share your part details (3D model, material) so we analyze its curves and surface needs → We craft a custom plan: matching silicone pad hardness to your part’s shape and picking the right ink for durability → We run test prints for your approval, then scale to full production.
But if you are still curious about the nitty-gritty that makes this work, here’s how we turn those steps into perfect prints (but don’t worry, all you need to do is provide the documents and we will handle those heavy work for you):

Step 1: Share Your Idea

  • A 3D CAD model (or physical part) to map curves, edges, and surface textures.
  • 2D drawings marking exactly where graphics go (e.g., a logo 5mm from the edge of a curved handle).
  • Vector artwork (AI file) for crisp, scalable designs—no blurry logos here.
  • Details like order quantity (100 prototypes? 50,000 units?), Pantone colors, and material type (ABS? PP? Stainless steel?).

Step 2: We Analyze & Prep

First, our team dives into your part’s geometry: Using your 3D model, we measure curvature radii and surface angles to flag potential printing hotspots (like a 90° edge that might smudge ink).
For materials like PP or PE (tricky for adhesion), we activate the surface with our proprietary flame-treating process—boosting ink grip by 40% (double the industry average). This step is non-negotiable for parts that see heavy use, like tool handles or outdoor gear.
Pad Printing

Step 3: Customize the Tooling & Ink

We don’t rely on off-the-shelf solutions:
  • Silicone pads: We mold pads with shore hardness tailored to your part—30A for sharp, detailed surfaces (like medical device dials) or 70A for deep curves (think automotive dash buttons)—ensuring every nook gets even ink coverage.
  • Ink formulation: Using your Pantone specs, we mix inks for your material: UV-cured blends for outdoor parts (tested to 3,000+ hours of sun exposure) or ISO 10993-certified formulas for medical tools.

Step 4: Test, Tweak, Approve

We print a small batch (5-10 pieces) to validate:
  • Adhesion: We run a cross-hatch test (ASTM D3359) to ensure ink stays put—critical for parts that get cleaned or handled daily.
  • Alignment: Using precision gauges, we check that logos hit your 2D drawing’s specs within ±0.02mm (no “off-center” surprises).

Step 5: Scale to Your Needs

Whether it’s 100 prototypes (ready in 3 days) or 100,000 units, our automated carousel printers maintain consistency—no quality drops, even at high volumes. Every batch gets a final inspection: we spot-check 5% of parts under magnification to ensure they match your approved sample.

*Note:
We’re continually expanding our pad printing capabilities. If you have questions or unique requirements, please reach out to your account representative for assistance.

Need a quote for your custom parts?

Get yours in 24 hours – no obligations, just fast, tailored numbers.

Pad Printing vs. Similar Processes: Which Fits Your Part?

Several processes deliver printed or marked surfaces similar to pad printing—each with strengths and limits. Here’s a breakdown of the most common alternatives, and how to choose between them:

silk screening icon

Screen Printing

Uses a mesh stencil to push ink onto surfaces. Best for flat, large areas (e.g., signs, flat plastic panels).

laser engraving icon

Laser Engraving

Burns or etches designs into material. Works for hard, flat surfaces (e.g., metal tags, rigid plastic).

heat transfer icon

Heat Transfer

Applies pre-printed designs via heat/pressure. Popular for apparel or flat, smooth items (e.g., phone cases).

hydro dipping icon

Hydro Dipping

Dips parts into a water-based ink film. Creates complex, all-over patterns (e.g., camouflage on tools).

Curved, textured, or tiny (under 5cm)? Pad printing outperforms others. Its flexible silicone pad conforms to curves (e.g., a rounded tool grip) or tiny recesses (e.g., a 3mm button), where screen printing smudges, lasers blur details, and heat transfer peels.

Flat and large? Screen printing may be cheaper for big batches (e.g., a 12”x12” plastic panel).

Needs all-over patterns (not just logos)? Hydro dipping works, but it’s less precise for small text or logos.

Soft/flexible (rubber, PP, PE)? Pad printing’s custom inks stick better than lasers (which can melt soft plastics) or heat transfer (which lifts off flexible surfaces). We’ve tested this with 1,000+ rubber grips—pad printing lasts 3x longer.

Hard/rigid (metal, glass)? Laser engraving is durable but lacks color; pad printing adds vibrant hues without damaging the material.

Small-to-medium (100–10,000 units)? Pad printing is faster and cheaper than custom screen printing setups or laser engraving (which requires per-part programming).

Very large (100,000+ units) on flat surfaces? Screen printing may have lower per-unit costs.

One-off or low-volume art pieces? Hydro dipping or heat transfer could work, but they’re less precise for logos.

In our shop, we lean toward pad printing for parts where “perfect” matters: curved automotive trim needing ±0.02mm logo alignment, tiny medical device dials with 0.5mm text, or textured rubber grips that need durable branding. For these, no other process matches its mix of precision, flexibility, and cost.

Not sure? Share your part’s details (surface, material, batch size), and we’ll send a free sample comparison of 2–3 processes—so you can see the difference firsthand.

FAQs question mark

Frequently Asked Questions

Can KingStar Mold help with fixture design for pad printing?2025-06-23T07:43:16+00:00

Yes. Accurate fixture design is critical for consistent pad printing—especially for multicolor applications or irregularly shaped parts. KingStar Mold designs and manufactures custom fixtures in-house, ensuring precise alignment and repeatability. We account for part geometry, ink transfer angles, and automation compatibility to support both manual and automated production workflows.

How durable is pad printing on plastic parts?2025-09-05T04:35:28+00:00

It depends on the plastic, how we prep the surface, and where the part lives—but we’ve seen enough real-world results to break it down simply.

For common plastics like ABS or PC: Indoors (think office equipment or appliance panels), prints last 3–5+ years with no peeling. Outdoors (automotive trim, garden tools), UV-resistant inks push that to 2–4 years—we had a PC part in Arizona sunlight hold strong for 3.5 years straight.

Trickier plastics? PP/PE used to fail in under a year, but our flame-prep process (we activate the surface to grip ink) now gets them to 2+ years indoors. Nylon? With moisture-resistant inks, we’ve kept prints on industrial nylon parts intact for 18+ months in humid warehouses.

The important thing is that you should choose a supplier with advanced technology and expertise and this can maximize the lifespan of your printed patterns.

What’s the typical lead time for pad printing?2025-06-23T07:37:57+00:00

Lead times vary depending on part complexity, number of colors, and quantity. For standard single-color jobs on approved materials, lead time can be as short as 3–5 business days after artwork approval. Multicolor or custom automation setups may take 1–2 weeks. At KingStar Mold, we aim to minimize turnaround through efficient in-house tooling, fixture design, and print testing.

Does KingStar Mold follow any quality certifications for pad printing?2025-09-05T04:39:50+00:00

Yes—we’re ISO 9001:2015 certified, but that’s more than a certificate on the wall. It means every pad printing run gets logged: ink batches, pad hardness, cure times, even the pressure used on the press. We trace this data back to each part, so if a client needs to audit a 6-month-old batch of medical device dials, we can show exactly how the logos were printed (and that they met ISO 10993 ink standards). It’s how we keep consistency tight.
How many colors can pad printing apply?2025-09-05T04:42:42+00:00

Pad printing can apply from one up to six or more colors, depending on the equipment and artwork complexity. For most industrial applications, up to four-color pad printing is commonly used to achieve precise, multi-layered graphics.

At KingStar Mold, we operate advanced multi-color carousel-style pad printing machines that are designed for accurate color-to-color registration. These machines rotate the part through multiple print stations, with each station applying a different color. This setup allows us to produce:

  • Tightly registered multi-color logos

  • Full-color gradients and halftones*

  • Complex image transfers on curved or uneven surfaces

For gradients or halftones, we mix inks on-site and test swatches under the same light as your end-use environment. And when Pantone matches are critical (like a brand’s signature blue), our X-Rite spectrophotometer hits ΔE < 1—no “close enough” for logos that need to pop.

And thanks to our automated alignment and indexing systems, we can maintain consistent registration even in high-speed production. Multi-color pad printing is ideal for industries requiring branded or decorative finishes, such as medical devices, automotive components, electronics housings, and consumer products.

We also offer custom and Pantone (PMS) color matching to ensure branding accuracy across production runs.

If you have specific multi-color design needs, our engineers can help evaluate artwork suitability and recommend the best pad printing setup.

What materials can be pad printed?2025-09-05T04:37:58+00:00

Pad printing is highly versatile and works on a wide range of materials, making it ideal for decorating complex or irregularly shaped parts. Common pad-printable materials include:

  • Plastics:
    Most thermoplastics can be pad printed, including ABS, PC, ABS/PC blends, PP, PE, PS, Nylon, and acetal (POM). However, surface energy and ink adhesion vary by material, so proper surface preparation or pre-treatment (like flame or plasma treatment) may be required—especially for low-surface-energy plastics like PP or PE.

  • Metals:
    Stainless steel, aluminum, and other metals can be pad printed, especially when pre-treated with primers or surface coatings to improve ink adhesion. This is common in the medical and electronics industries.

  • Glass and Ceramics:
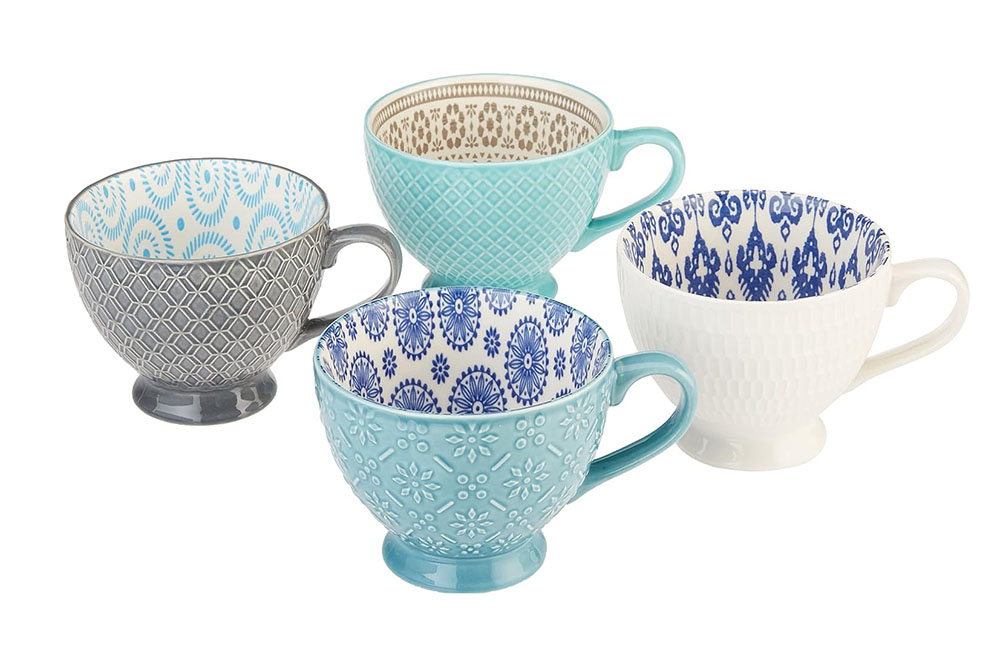
    With specialized inks and curing processes (such as UV or thermal curing), pad printing can be applied to glassware, ceramic items, and coated surfaces. These applications are often found in packaging or home goods.

  • Rubber and Silicone:
    Some elastomers can be pad printed using specially formulated inks. Silicone items typically require a primer or special adhesion promoter for durability.

  • Painted, Coated, or Plated Surfaces:
    Pad printing is frequently used to add branding or labels to painted or powder-coated parts, anodized aluminum, or electroplated plastics, assuming proper ink and surface compatibility.

At KingStar Mold, we most commonly pad print on ABS, PC, and ABS/PC-blend plastic parts used in injection molding. For other materials or advanced surface finishes, our team will evaluate ink compatibility, adhesion strength, and durability to ensure the best result.

Go to Top