Did your last camping trip leave your cooler looking like something out of a science lab? Maybe there’s a sticky residue clinging to the bottom, a mysterious odor that just won’t go away, or some forgotten food that’s now a biological hazard. If so, you’re not the only one.
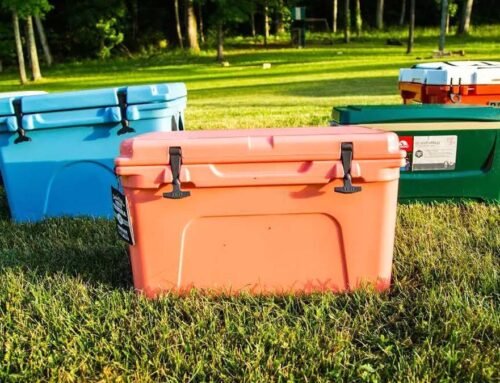
Whether you’re using a Yeti, RTIC, Igloo, or any other high-performance hard-sided coolers, one thing is true—coolers work hard. They haul everything from ice-cold drinks to fresh catches, often in the heat of summer. And let’s be honest: after the fun’s over, it’s all too easy to toss the cooler back in the garage without a second thought.
But here’s the thing—neglecting to clean your cooler properly can lead to lingering smells, mold, or even staining over time. Luckily, most high-quality coolers are designed to withstand deep cleaning with minimal effort.
As a custom manufacturing company, we’ll show you how to clean, sanitize, and deodorize your cooler the right way—step by step in this guide. You’ll also get a few pro tips to keep your cooler fresh, functional, and always ready for your next adventure.
Let’s get started.
Before you even think about scrubbing, clear out the mess. That means removing any leftover food, melted ice, wrappers, and whatever mysterious debris made its way inside—yes, even that stray leaf or bottle cap hiding in the corner.
Starting with an empty cooler might seem obvious, but it’s crucial. Any lingering moisture or organic matter can become a breeding ground for mold and bacteria, especially if you’re storing your cooler sealed up between uses.
Pro Tip: If your cooler has a drain plug—like many models from Yeti, RTIC, or Igloo—use it to your advantage. Pop it open and let gravity do the heavy lifting. It’s far easier than awkwardly tipping the whole cooler upside down, especially if it’s one of the larger, fully loaded models.
2. Quick Rinse to Shake Off the Dirt
Once your cooler is empty, give it a thorough rinse to remove loose dirt, dust, sand, or leftover spills. A garden hose works best, but a detachable showerhead or even a couple of buckets of water will do the trick in a pinch.
Be sure to rinse both the inside and outside, paying extra attention to the corners, drain areas, and underside of the lid—grime loves to hide in those places. If you’ve got a high-end cooler, you’ll likely appreciate the seamless interior that helps minimize hard-to-reach crevices. Still, dirt can collect around the drain plug or handles, so don’t rush this step.
Pro Tip: Tilt your cooler slightly during the rinse to help water flow out more easily and avoid pooling at the bottom. This is especially helpful for larger models that can be awkward to maneuver when full of water.
3. Scrub Like You Mean It (But Gently)
Once the surface dirt is rinsed away, it’s time to get hands-on with some good old-fashioned scrubbing. Don’t worry—it doesn’t take industrial-strength effort. With the right tools and a bit of technique, your cooler will be looking (and smelling) fresh again in no time.

3.1 The Right Tools for the Job
Gather a few basic cleaning supplies to make the process easier and more effective:
• Soft-Bristle Brush: Great for cleaning out dirt and stains without scratching the surface
• Sponge or Cleaning Cloth: Ideal for light wiping and reaching into corners
• Warm Water: Helps loosen grime and makes cleaning easier
• Mild Dish Soap + Baking Soda: This combo is effective yet gentle. Baking soda especially helps lift odors and stains without leaving residue

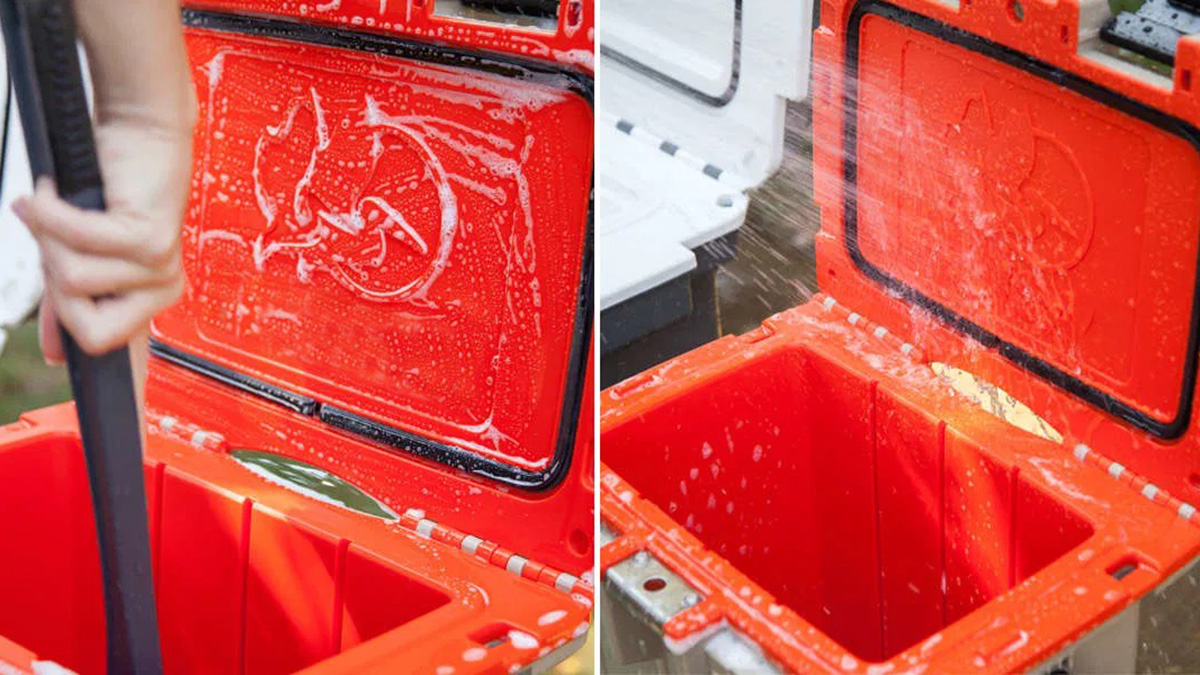
3.2 A Gentle Scrub for a Fresh Finish
Dip your brush or sponge into warm soapy water and begin scrubbing the interior walls, lid, corners, and drain area. Be methodical and don’t forget the exterior—coolers often get scuffed and stained on the outside too. For tough spots, sprinkle a bit of baking soda directly onto the stain before scrubbing. Just be sure to avoid anything overly abrasive like steel wool, as it can scuff the plastic on most coolers.
3.3 Avoid Overkill: Scrub Smart
Heavy-duty coolers are made to take a beating, but that doesn’t mean they’re immune to damage from improper cleaning tools. Always opt for soft-bristled brushes or non-scratch sponges. If your cooler has a textured surface or molded grooves (common in brands like Coleman or Igloo), spend extra time there—those areas tend to trap grime.
4. Need to Soak? Let It Sit for a Bit
Sometimes a regular scrub just isn’t enough—especially if your cooler’s been through a particularly messy trip. If there’s lingering residue or smells that won’t quit, soaking is your best friend.

4.1 Soak for Stubborn Residue
Dealing with stuck-on food, spilled drinks, or that dreaded fish slime? Fill your cooler about halfway with warm water and add a generous squirt of dish soap. Let it soak for 30 to 60 minutes with the lid closed. This helps loosen grime and makes your next round of scrubbing way easier. For especially crusty messes, a longer soak won’t hurt.
4.2 Optional: Add White Vinegar for Extra Odor Control
If your cooler still smells like last weekend’s bait or beer, add about a cup of white vinegar to the mix. Vinegar naturally kills odor-causing bacteria and breaks down buildup, making it a great tool for deodorizing. Let it sit for the full soak time, then rinse thoroughly afterward to remove any vinegar smell.

4.3 Bonus Tip:
If you’re soaking outdoors, let the cooler sit in the sun with the lid slightly ajar. The heat can help loosen up residue even more—and UV rays are surprisingly effective at reducing bacteria.
5. Dealing with Mold or Funky Smells
Even with regular cleaning, your cooler might sometimes get that musty smell—or worse, spot mold. No need to panic. Here’s how to fix it easily.
5.1 Bleach-Water for Mold
If you see mold or mildew, mix 1 part bleach with 9 parts water. Grab a sponge or cloth, wipe it over the affected areas, and let it sit 10–15 minutes. That kills the mold and breaks down gunk. Then scrub gently and rinse well.
5.2 Vinegar Works Too (No Harsh Fumes)
Not a fan of bleach? White vinegar’s a great natural fix. Pour it straight on moldy or smelly spots, let it sit 10–15 minutes, then rinse. It disinfects and nixes odors without the strong smell. Just make sure to rinse thoroughly so it doesn’t leave a vinegar tang.
5.3 Let It Air Out Completely
After cleaning, always leave the cooler open to dry fully. Trapped moisture is what causes mold and funk in the first place—even a little dampness can bring it back. If you can, set it in a sunny, breezy spot. A totally dry cooler stays fresh, guaranteed.
6. Tough Stains? Try a Magic Eraser
Sometimes, even after a good scrub, a few stubborn marks or scuffs just won’t budge. That’s when a magic eraser comes in handy.

6.1 Rub Gently for Stains and Scuffs
Magic erasers are perfect for tough spots—like discoloration from spills or scuffs from regular use. Rub them lightly on both the inside and outside, and you’ll be surprised how fast they lift grime. Just go easy with the pressure—you don’t want to scratch the surface.
6.2 Check Your Cooler’s Material
Not all coolers handle scrubbing the same. Ours (and many quality brands) use UV-resistant, durable materials that hold up to regular cleaning—no yellowing or surface damage, even with erasers. If your cooler has a sturdy, weather-resistant shell, you can clean without worrying.
7. Dry It Properly
After a thorough clean, the final step matters most: make sure it’s completely dry before putting it away. This stops moisture, mold, and bad smells in their tracks.
7.1 Leave the Lid Open to Air Dry
Once cleaned, prop the lid open so air circulates. Closing it traps moisture inside, which is a one-way ticket to mold and lingering odors. Letting it air out fully keeps it fresh.
7.2 Pro Tip: Toss in a Microfiber Cloth When Storing
For extra protection, drop a clean, dry microfiber cloth inside when you store it. Microfiber soaks up any leftover humidity, keeping the inside dry and odor-free.
8. Regular Care = Longer Life
A little routine care goes a long way in making your cooler last—and keeping it ready for every trip.
Wipe It Down After Each Use
Spend 60 seconds wiping the inside and outside with a damp cloth after each trip. This simple step stops leftover food, dirt, or moisture from building up and causing stains or smells.
Monthly Deep Clean (Even If It Looks Clean)
Even if your cooler looks fine, a full clean once a month gets rid of hidden grime and bacteria. A good scrub, rinse, and wipe-down keeps it in top shape for your next adventure.
Easy-Clean Materials Help
Most modern coolers (including ours) use easy-to-clean materials, so you won’t spend hours scrubbing. A few minutes of regular care is all it takes to keep it looking and working great.

9. Storage Tips to Keep It Ready
Storing it right helps keep your cooler in good shape, so it’s always ready for your next adventure.
9.1 Leave the Lid Slightly Open
To avoid trapped moisture and stale air, prop the lid open a little (or use a small spacer). This keeps it fresh and stops bad smells from settling in.
9.2 Keep It Shaded
Store it in a cool, shaded spot. Direct sunlight fades the exterior and can wear down the insulation over time—so keeping it out of the sun helps it last longer.
9.3 Stack Carefully If You Need To
Short on space? Stack coolers gently to save room. Just make sure they’re stable so they don’t get damaged while stored.
A Clean Cooler Starts with a Quality Cooler
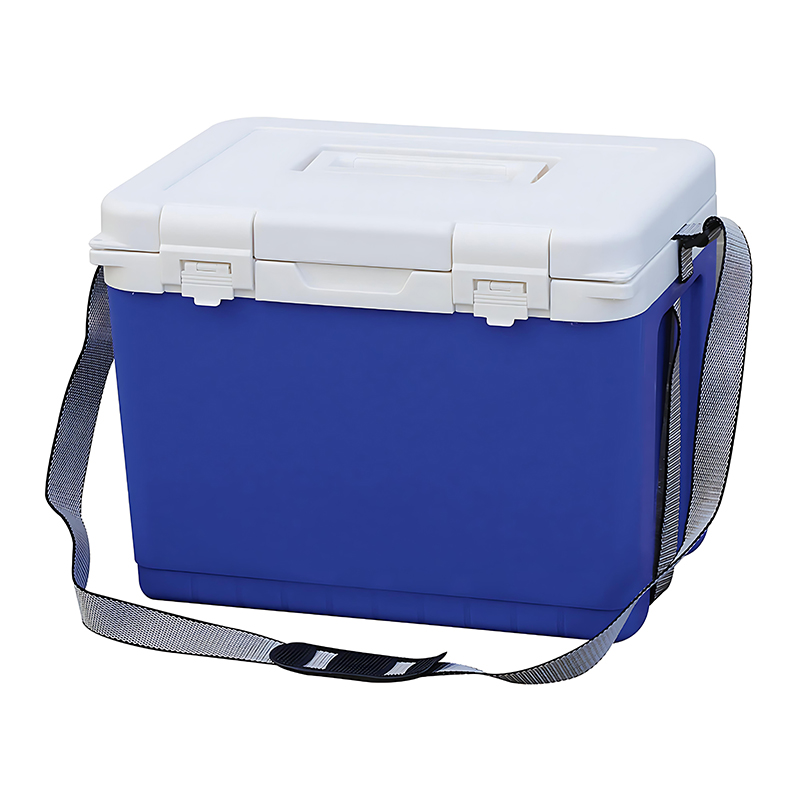
Keeping your cooler fresh and functional isn’t just about cleaning—it starts with choosing one built to stay that way. A well-made cooler doesn’t just hold ice longer; it’s designed to be easy to clean, resist mold, and stand up to years of scrubbing, trips, and adventures.
That’s where we come in. Our coolers are crafted with durable, stain-resistant materials that make cleaning a breeze—no fighting stubborn grime or worrying about scratches. The tight seals and smooth interiors mean less gunk buildup, and the sturdy construction ensures they’ll keep up with your lifestyle, whether you’re camping, tailgating, or just packing lunches.
Want a cooler that’s as easy to care for as it is reliable? Let’s chat. Drop us a line, and we’ll help you find the perfect model—one that stays clean, stays cold, and stays with you for every adventure. Your next great trip (and a hassle-free cleaning routine) starts with the right cooler. Reach out today at: sales@kingstarmold.com, or fill out an information table on our contact page.