When you’re planning a camping trip, a long fishing day, or a beach getaway, keeping your food and drinks cold is more than just a luxury—it’s a necessity.
In this post, we’ll dive into practical and proven cooler ice retention hacks that actually work. From cooler selection to packing strategies and practical tips during use, keep reading and we’ll cover everything you need to know. Whether you’re using a budget cooler or a high-performance rotomolded cooler, these tips will help you stay cooler for longer.
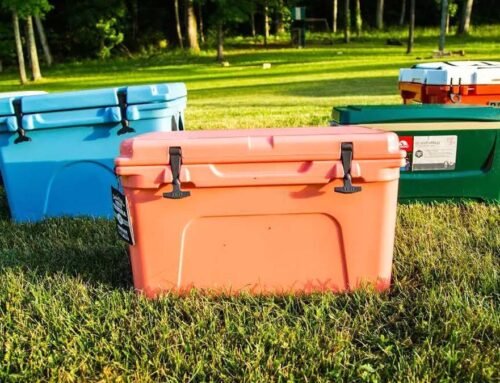
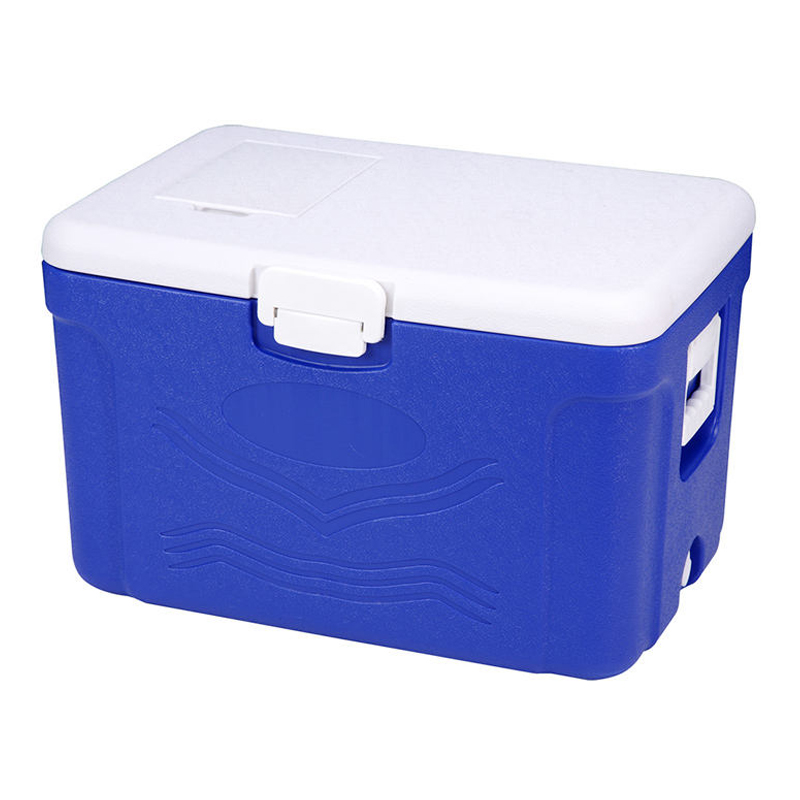
1.1 High-Quality Coolers vs. Cheap Alternatives: Why the Right Choice Matters
Not all coolers are created equal. Cheap coolers often use thin plastic walls and low-grade foam, which allows heat to seep in and melt your ice faster. In contrast, premium coolers—like the ones manufactured by KingStar Mold, the leading custom manufacturing company—are built with durability and performance in mind. We offer factory-direct coolers with performance on par with premium brands, but at a much more affordable price:
- Rotomolding manufacturing technique ensures seamless insulation and structural strength
- High-density polyurethane foam significantly slows down heat transfer
1.2 Insulation and Build: How Construction Affects Ice Retention
The thickness and quality of insulation play a major role in how long your cooler can keep ice. Well-designed coolers typically feature at least 2 inches of insulation in the walls and lid. Additionally, the quality of the lid seal is critical.
- Thick insulated walls reduce external heat infiltration
- A tight-sealing lid with gaskets prevents cold air from escaping
- Hinges, latches, and gaskets should all work together to maintain internal temperature
If you are curious about how these structures enable coolers to maintain coldness, we have an article that explains it thoroughly: How Does a Cooler Box / Ice Chest Work?
2. Key Prep Steps for Longer Ice Retention
The foundation of keeping ice frozen longer lies in three critical prep steps—all designed to minimize heat intrusion and maximize cold retention. For a deeper dive into how these fit into a full packing strategy, check out our detailed guide on how to pack a cooler for maximum ice retention. But mainly, it comes down to these strategies:
2.1 Pre-Chill Everything
First, prechill your cooler. A warm cooler acts like a heat sponge: the second you add fresh ice, part of it will melt immediately just to cool the cooler’s walls. Same with food and drinks. Pre-chilling eliminates this waste by setting a cold baseline first.
How to do it: The night before your trip, fill the cooler with “sacrificial” ice; and put the food & drinks you need in the freezer. Let them sit for 6+ hours (overnight is better), then drain any meltwater or leftover ice from the cooler before adding fresh ice and your prepared items.
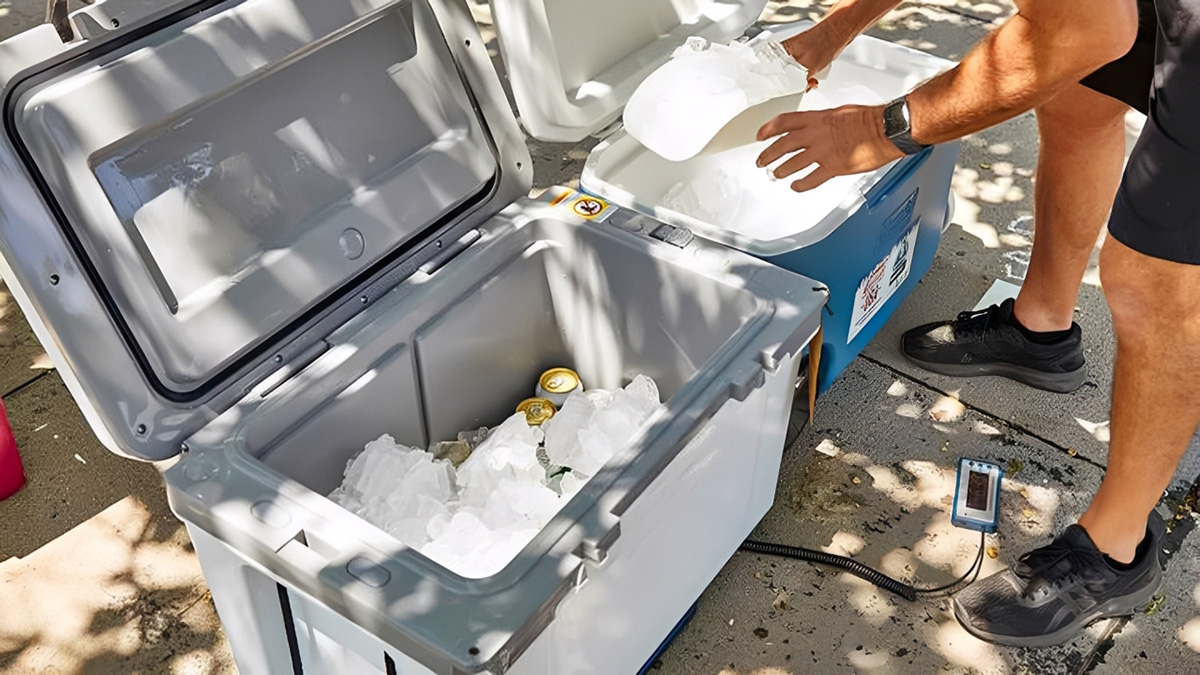
2.2 Use More Ice (and Protect It)
Ice is your cooler’s “cold reservoir”—the more you have, the longer it lasts. But quantity alone isn’t enough; you also need to limit heat exposure:
Prioritize organization: Group items (e.g., drinks in one section, food in another) so you grab what you need without digging. Keep frequently used items near the top to minimize lid-opening time.
Remember to layer your grouped items. It’s best to place heavy and frozen items such as large blocks of ice and frozen meat on the bottom layer; items that require low temperature but not freezing (such as dairy products) on the middle layer, and delicate foods or ones that need to be taken out frequent (such as vegetables, beverages, and snacks) on the top layer.
Consider two coolers for long trips: Use one for often-grabbed drinks and another for food that stays undisturbed—this cuts down on unnecessary openings.

2.3 Add Ice Packs (or Dry Ice) for Extra Cold
Ice packs complement regular ice by holding colder temperatures longer. Unlike standard ice (which freezes at 32°F/0°C), many gel-based packs freeze below 32°F, which enables it absorb more heat before melting.
Where to place them: Slide packs into gaps between ice or along the cooler walls to create a cold barrier. Tuck them under perishables (like meat or dairy) for targeted protection, or lay flat on top to block warm air when the lid opens (because even if the ice pack melts, it will still maintain its shape and remain firmly on the upper layer instead of streaming away like molten ice, thereby effectively blocking the hot air no matter what).
Some outdoor enthusiasts also prefer to use dry ice. The main reason is that when it melts, it doesn’t turn into water but becomes carbon dioxide, which is beneficial for keeping the cooling equipment clean. However, it is not suitable for everyone. Firstly, because its temperature is too low, it can easily freeze and damage food (especially carbonated beverages need to be particularly cautious as they may explode). Secondly, there are safety risks because when it melts, it will release a large amount of carbon dioxide, so there may be risks in a sealed compartment, and it is also prone to causing frostbite during handling. However, because of its extremely low temperature, it can indeed maintain a lower temperature in the cooler for a longer period of time. Whether to use it or not is entirely up to personal choice.
In the following video, an outdoor enthusiast demonstrates the packing method (using dry ice at the bottom)
3. Avoid Opening the Cooler Frequently
Keeping your cooler sealed as much as possible is crucial for maximizing ice retention.
Although this has been mentioned before, in order to emphasize it, we once again emphasize its importance. Although many people might frequently open and close the lid to access the contents for convenience, and think it doesn’t matter as long as they act quickly, but this is not the case for the hardworking air conditioner. As long as the lid is opened, even for just one second, hot air seeks in. Once the lid is closed, the hot air that has entered has nowhere to go and can only cause the ice cubes to melt faster to lower its temperature.
When that hot air merely managed to cool down, the lid was opened again. You can imagine what’s coming next. So frequently opening and closing the lid has a significant effect of shortening the lifespan of ice cubes inside the cooler which we often fail to realize.
4. Keep Your Cooler in the Shade
Sunlight melts ice fast—no exceptions. Direct sun heats up the cooler’s exterior, and that heat seeps in, turning ice to water in hours, much like a car you parked under the scorching sun. It’s even worse for dark-colored coolers: they soak up more sun, speeding up the melt. Cooler Placement Tips:
- To extend the ice life, always place your cooler in a shaded area. Under a tree, on a shaded porch or in a tent when nobody inside.
- Avoid placing your cooler directly on hot surfaces like concrete, asphalt, or metal, which can absorb and transfer heat into the cooler (see section 9).
- If necessary, consider using a reflective cooler cover or tarp for additional insulation (see the next section).

5. Insulate Your Cooler
Proper insulation is key to extending the life of your ice, and there are various ways to improve the insulation of even a low-cost cooler.
a. DIY Enhanced Cooler: If your budget is limited, you can try some homemade methods to enhance your cooler’s performance. Adding foam or polystyrene foam boards inside the refrigeration equipment can create an additional insulation layer. You can place the foam boards on the inner walls, lids, and bottom to form an insulation barrier. Another simple method is to use bubble wrap to make airbags, which can serve as an insulation layer.
b. Reflectix Insulation: Reflectix is a reflective insulation material commonly used to deflect heat. By wrapping your cooler with Reflectix, you can help keep the heat away from the cooler’s surface, maintaining a cooler internal temperature. Reflectix works by reflecting radiant heat, so it can be especially useful in hot, sunny environments. So if you can’t find shade, it’s recommended to use it as a shield.
c. External Covering: If you don’t want to purchase or carry Reflectix specifically, that’s fine too. When going camping, we always have a tent cloth (or any other kind of fabric, towel) . Just cover your cooler with a piece of cloth that can block the sunlight. It’s that simple.
With these simple insulation techniques, you can dramatically improve the ice retention even for a cheap cooler you bought from the flea market.
6. To Drain or Not to Drain? The Meltwater Myth
Many people have this question: In the cooler, there is semi-melted ice water. Should we drain it or not? Well, it depends:

6.1 When draining helps
Meltwater absorbs heat from the outside air and from warm items you add later. In hot weather (think 85°F+), or on day 2+ of a trip, that water can slowly warm up, acting like a “heat buffer” that softens remaining ice. If you notice:
- The water level covers most of your food/drinks (so items are sitting in warmish slush)
- The cooler feels heavier than usual (because water is prone to sloshing around inside the cooler, making it more difficult to move)
Drain it. A quick twist of the plug removes that heat sink, letting the remaining ice focus on staying frozen instead of fighting warm water.
6.2 When to leave it be
Here’s the surprise: cold meltwater can actually insulate. If the water is still near-freezing (you can feel it’s icy to the touch) and:
- There’s still plenty of ice left (more ice than water)
- The weather is mild (under 75°F)
- You’re opening the cooler rarely (so little warm air gets in)
Leaving it in helps. The cold water fills gaps between items, blocking warm air from circulating—like a liquid ice pack. Draining it here would just create empty space for heat to sneak in, and you’d lose the extra cold the water is holding.
6.3 The golden rule
Check the water temp first. If it’s cold enough to make your fingers tingle? Keep it. If it feels lukewarm (even a little)? Drain it. And always drain quickly—open the plug, let it rush out, then close it fast to avoid letting warm air linger.
7. Choose a Cooler with a Drain Plug
As mentioned in the previous section, since there is a need for drainage, it is recommended to choose a cooler with a drain plug.
Imagine that you need to drain water, but there is no drain plug. You would have to open the cover wide and use a bowl to scoop out the water, or lift the heavy cooler and pour the water out. Meanwhile, you’re losing the precious cold air.
But with the drain plug, you don’t need to open the cover and do the heavy work. Just unplug it, let the water flow out, and then slightly open a gap to see how much water has been discharged. That is to say, the remaining water volume in the cooler is controllable (as stated in the previous section, an appropriate amount of meltwater helps to maintain coldness).
p.s: The drain plug also simplifies the cleaning work after you return home.

8. Utilize a Wet Towel or Evaporative Cooling
Wet the towel or tent fabric you use to cover the cooler, but do not make it drip wet. Because water evaporation naturally consumes heat, and it is particularly useful in conditions with a gentle breeze. That’s because the air movement accelerates the evaporation process, leading to further cooling.
However, it may not be applicable in extreme cases, such as when the sun is extremely intense but there is no wind at all. This will cause the temperature of the damp towel to rise, and the heat carried away by evaporation will even be less than the heat it absorbs and transfers to the cooler from sunlight. So it requires you to use your judgment to determine when it is appropriate to use it and when it is not.
9. Store Coolers Away from Heat Sources
We stated in section 4 that it is recommended to place your cooler in a shady area, as the primary heat source is the sun. This section now provides some additional examples of heat sources that you should avoid.
Surfaces that radiate heat, such as asphalt, truck beds, or beach sand, can quickly raise the internal temperature of your cooler, causing the ice to melt faster. These surfaces absorb heat from the sun and transfer it to the cooler, accelerating the melting process.
Cooler Placement Strategy: place your cooler on elevated areas. For example, putting it on a picnic table, a bench, or an insulated surface can protect it from heat radiation.

9.1 Common Heat Sources to Avoid When Using a Cooler
- Asphalt or paved surfaces
- Truck beds
- Sand
- Direct sunlight (always aim for shaded spots)
- Metal or concrete surfaces (which heat up quickly)
- Hot vehicle interiors
Keeping ice frozen longer in your cooler boils down to simple, smart moves: pre-chill it first, use enough ice, keep it shaded, and seal in the cold. Mix and match these tips to fit your trip—whether it’s a beach day or a week camping—and you’ll avoid lukewarm drinks and soggy food.
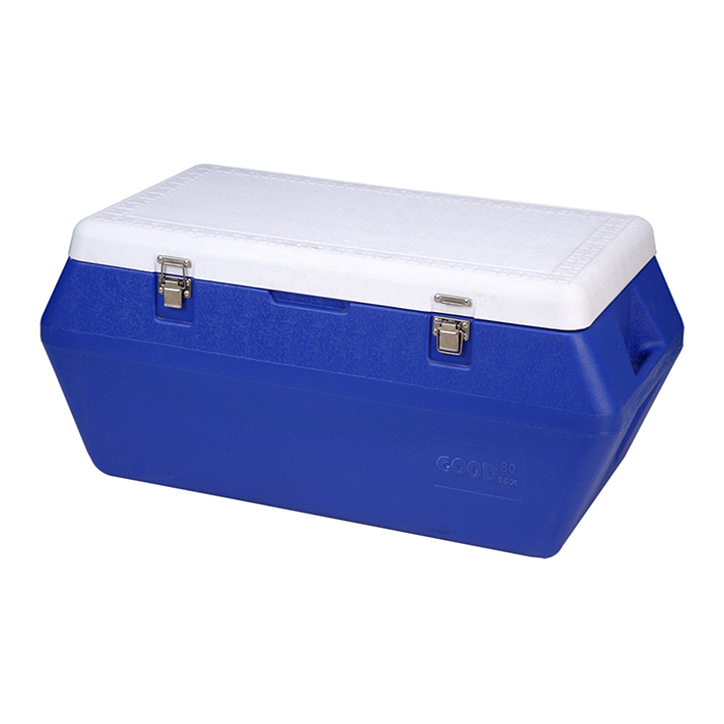
But before applying any of these packaging or placement hacks, choosing a right cooler can save half of your efforts. Whether you’re gearing up for a weekend camping trip or a day at the beach, our coolers from factory direct provide the reliable performance you need to keep your items cool and fresh, without paying for extra brand premium.