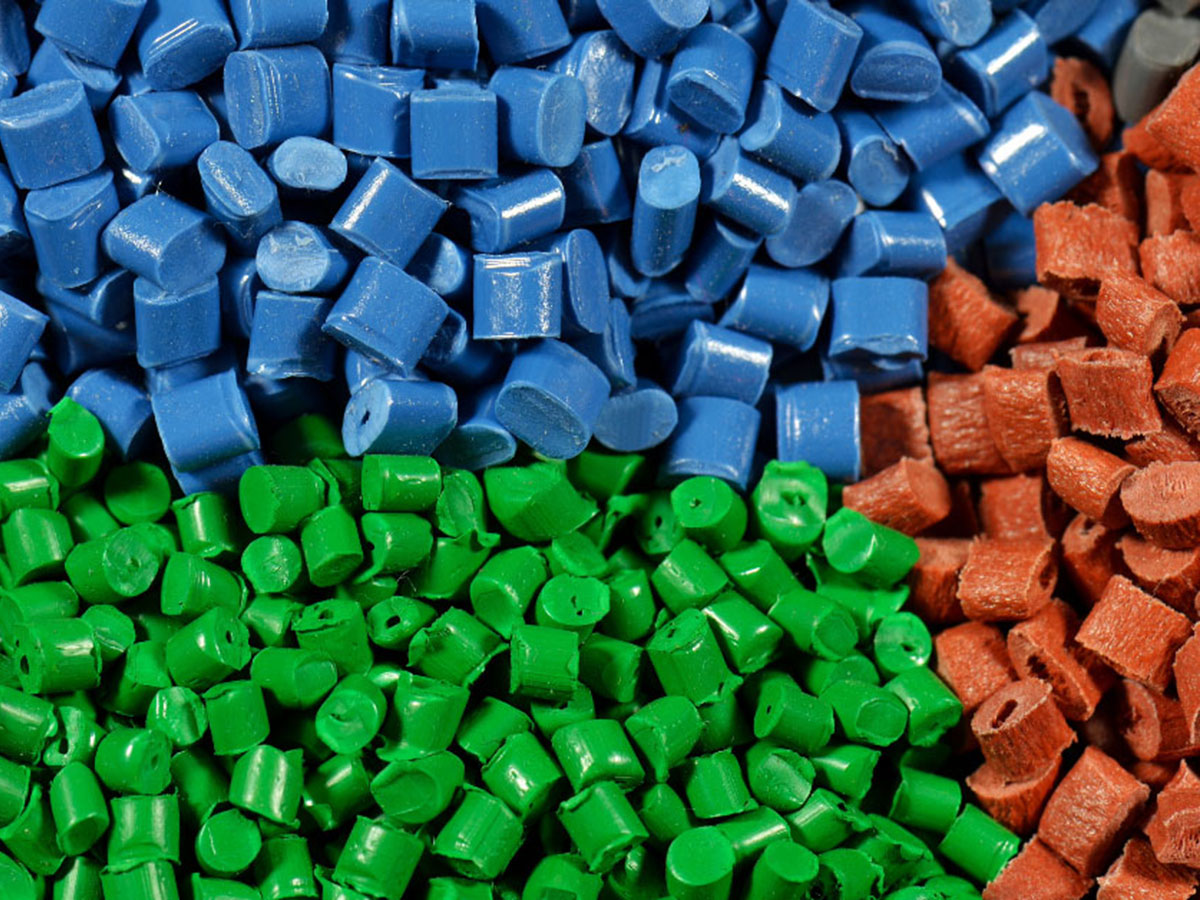
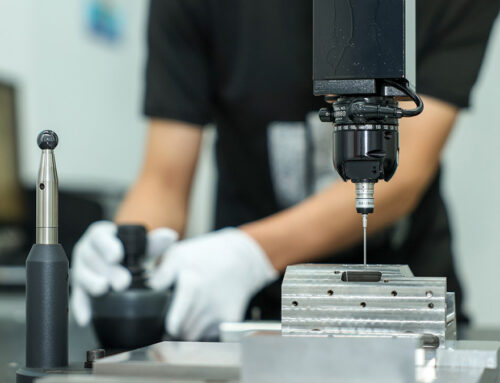
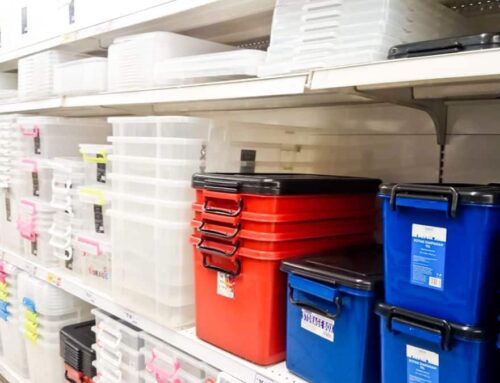
In today’s world, plastics play an integral role in countless products we use daily, from packaging and toys to automotive components and medical devices. Custom plastic parts are specialized pieces designed to meet specific requirements for unique applications. These parts are essential in various industries, allowing for tailored solutions that enhance functionality, improve efficiency, and often reduce costs.
Whether you’re designing a prototype for a new gadget, manufacturing components for machinery, or creating packaging that stands out on store shelves, custom plastic parts provide the flexibility and adaptability needed to bring innovative ideas to life. In this guide, we’ll explore the process of creating your first custom plastic part, from the initial design to the final product, highlighting the tools, methods, and best practices along the way.
This guide includes some necessary knowledge and step-by-step instructions, which are divided into 7 steps.
Custom Plastic Parts in Various Industries
Custom plastic parts are used across a wide range of industries, demonstrating their versatility and essential role in modern manufacturing. Here are some notable examples of where these parts are applied in real-world scenarios, which may include where you currently are working in:
Automotive Industry: Custom plastic components are vital in vehicles, providing lightweight solutions that enhance fuel efficiency and reduce emissions. Parts like dashboards, interior trim, and engine covers are often made from specialized plastics designed to withstand heat and wear.

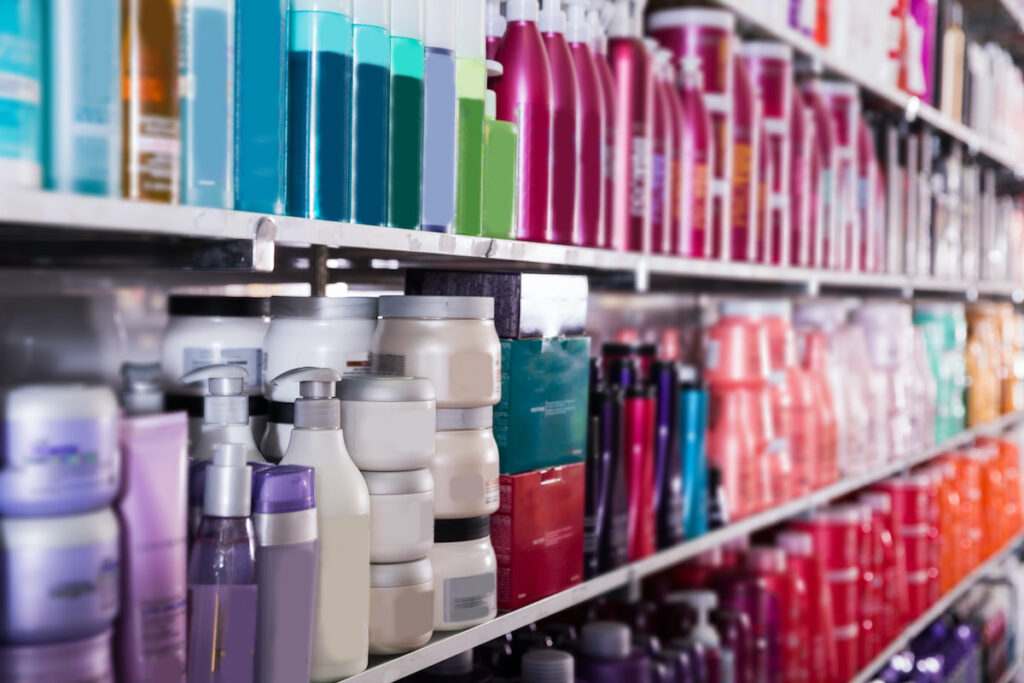
Consumer Goods: In the realm of consumer products, custom plastic parts are found in everything from household appliances to packaging. Items such as ergonomic handles for tools, unique bottle designs, and durable containers often rely on tailored plastic solutions to meet specific functionality and aesthetic requirements.
Medical Devices: The medical industry frequently uses custom plastic parts for equipment and devices. Examples include surgical instruments, housing for diagnostic machines, and disposable components like syringes and IV bags. These parts must meet stringent regulatory standards, ensuring safety and reliability.

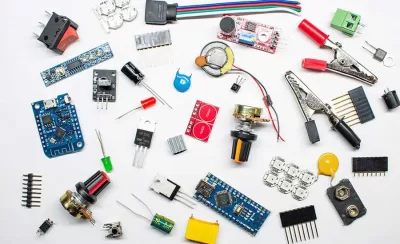
Electronics: Custom plastics are critical in the electronics sector, where they are used for protective casings, connectors, and internal components. The lightweight and insulating properties of plastics make them ideal for ensuring safety and functionality in devices ranging from smartphones to computers.
Construction and Architecture: In construction, custom plastic parts like fittings, pipes, and cladding are used for their durability and resistance to environmental factors. They can also be molded into complex shapes for architectural features, offering design flexibility.


Sports Equipment: Custom plastics are widely used in sports and fitness equipment. Components such as protective gear, lightweight frames for bicycles, and innovative design elements for athletic wear often rely on custom plastic solutions to enhance performance and safety.
Whether you are working in one of these industries or in another, or in a situation where you need to produce custom plastic parts, this guide may help you. Carry on reading to find out more.
Step 1: Define the Project Requirements
Identify the Part Specifications
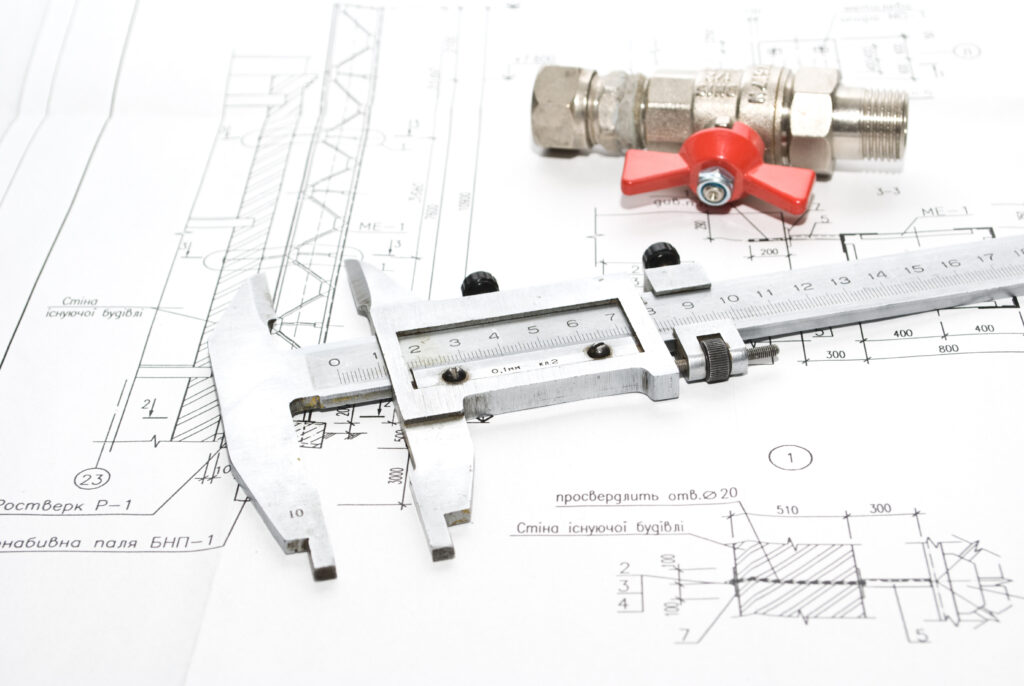
Understanding the specifications of the part you intend to produce is crucial for successful mold design and manufacturing. Here are the key considerations:
1. Dimensions
Determine the exact measurements of the part, including length, width, height, and any specific features such as holes, grooves, or tabs. Precision is essential to ensure the part fits correctly in its intended application.
2. Tolerances
Define the acceptable limits of variation in the dimensions. Tolerances indicate how much deviation is allowable from the specified dimensions and are critical for parts that must fit together or function precisely. For example, tighter tolerances may be necessary for mechanical components, while looser tolerances might be acceptable for decorative parts.
3. Material Requirements
Choose the appropriate plastic material based on the part’s intended use. Consider factors such as:
-
- Mechanical Properties: Strength, flexibility, and impact resistance.
- Thermal Properties: Heat resistance and thermal stability.
- Chemical Resistance: Ability to withstand exposure to chemicals or solvents.
- Aesthetic Properties: Color, transparency, and surface finish.
4. Functionality
Understand the intended function of the part. This includes load-bearing capabilities, environmental exposure, and any specific performance criteria that must be met.
Determine Production Volume
Assessing the production volume is essential for making informed decisions about mold design and material selection:
1. Estimated Quantity
Determine how many parts you plan to produce. This could range from a small batch for prototyping to large-scale production runs.
2. Impact on Design
The production volume will influence the design of the mold:
-
- For low to moderate production volumes, a simpler mold design (e.g., aluminum) may be sufficient.
- For high-volume production, investing in a more robust steel mold is often necessary to ensure durability and maintain dimensional accuracy over time.
3. Cost Considerations
Higher production volumes typically lead to lower per-part costs, as the initial investment in mold design and fabrication is spread over more units. Conversely, for low volumes, it may be more cost-effective to use alternative methods like 3D printing or short-run injection molding.
4. Flexibility for Future Production
Consider potential changes in demand. Designing the mold with modular features may allow for easy modifications or expansions to accommodate increased production needs in the future.
Step 2: Design the Part
Use CAD Software
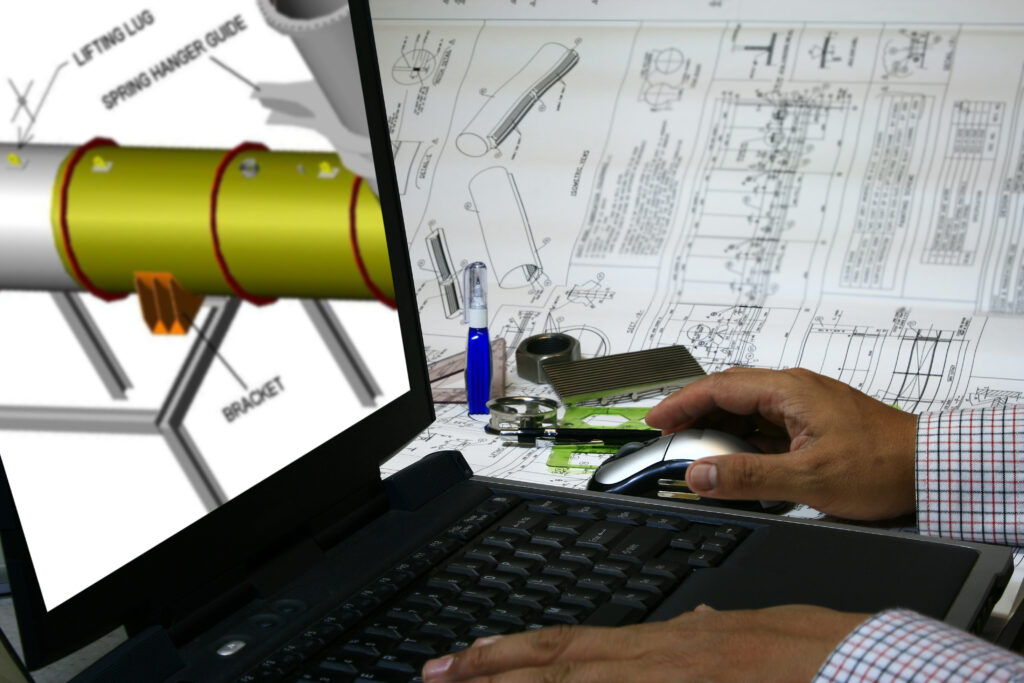
Creating a detailed 3D model of your part is essential for visualizing and refining your design. Here are key considerations for using CAD software:
1. Select the Right CAD Tool
-
- Choose a CAD software that suits your skill level and project needs. Popular options include SolidWorks, AutoCAD, Fusion 360, and CATIA. Each has unique features that may cater to different aspects of the design process.
2. Create the 3D Model
-
- Start by modeling the part according to the specifications defined in Step 1. Ensure that your model accurately reflects all dimensions and features.
- Incorporate important design elements such as Draft Angles, Fillets and Radii, Wall Thickness and so on.
3. Detailing
-
- Add annotations and dimensions to clarify features and tolerances. This is essential for communication with manufacturing teams and for quality control.
- Use visualization tools within the CAD software to simulate how the part will look and function in real-world applications.
Consider Design for Manufacturability (DFM)
Designing with manufacturability in mind is crucial for efficient production and cost management. Here are key aspects to consider:
1. Ejection Mechanisms
-
- Design features that facilitate easy ejection from the mold. This includes strategically placing ejection pins and ensuring that the part has sufficient draft angles.
- Avoid complex geometries that may complicate the ejection process or require additional mechanisms.
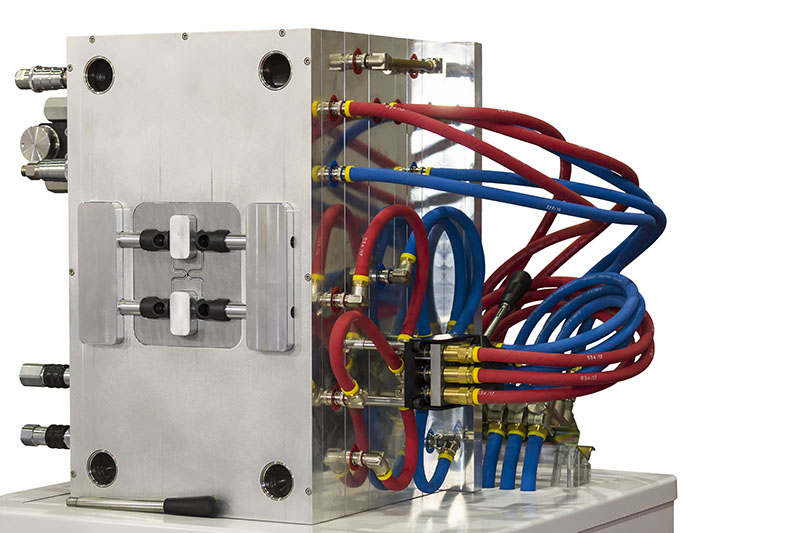
2. Cooling System Design
-
- Ensure that your design allows for effective cooling. Consider the placement of cooling channels in the mold to reduce cycle times and improve part quality.
- The cooling system should promote even cooling across the part to minimize warping and dimensional discrepancies.
3. Material Flow
-
- Analyze the flow of the molten plastic during the injection process. Design gates and runners to facilitate smooth material flow into the mold cavities, minimizing the risk of defects like short shots or uneven fill.
- Use simulation tools within your CAD software to predict how the material will behave during injection, helping to identify potential issues early in the design phase.
4. Cost Efficiency

-
- Simplify your design where possible to reduce manufacturing costs. Complex shapes can increase tooling and production costs, so consider whether a simpler design can meet the same functionality.
- Evaluate the potential for reusing existing molds or adapting designs to fit standard mold sizes to minimize custom tooling expenses.
By meticulously designing your part with CAD software and considering manufacturability, you set the stage for a successful injection mold project.
Step 3: Mold Design
Mold Configuration: Single-Cavity vs. Multi-Cavity Molds:
| Single-Cavity Mold | Multi-Cavity Mold | |
|---|---|---|
| Output | 1 part per cycle | Multiple parts per cycle |
| Production Volume | Low to moderate | High |
| Complexity | Less complex | More complex |
| Cost | Lower initial cost | Higher initial cost |
| Precision | High precision for complex designs | Can vary based on design |
| Cycle Time | Longer | Shorter |
Select Mold Materials
1. Mold Base
-
- Steel: High-quality tool steels (e.g., P20, H13) are commonly used for their durability and resistance to wear, making them suitable for high-volume production.
- Aluminum: Often chosen for lower-volume applications, aluminum molds are lighter, easier to machine, and less expensive but may wear out faster than steel.
2. Core and Cavity
-
- The core (the internal part of the mold) and cavity (the external part that shapes the part) should be made from materials that can withstand high pressures and temperatures.
- Choose high-strength steel for parts that will experience significant wear or stress, and consider using aluminum for prototyping or short runs.
3. Surface Treatments
Surface treatments are critical for enhancing the performance and durability of molds, particularly in high-precision applications. Depending on the specific requirements of the plastic part being produced, various treatments can be employed:
-
- Nitriding: This heat treatment process introduces nitrogen into the surface of the mold material, creating a hard, wear-resistant layer. Nitriding improves the mold’s hardness and fatigue strength, making it ideal for high-volume production where wear and tear are significant concerns.
- Hard Coating: Applying a hard coating, such as titanium nitride (TiN) or chromium nitride (CrN), can significantly enhance the surface hardness and corrosion resistance of the mold. These coatings provide a low-friction surface, reducing wear during the injection molding process and improving the overall lifespan of the mold.
-
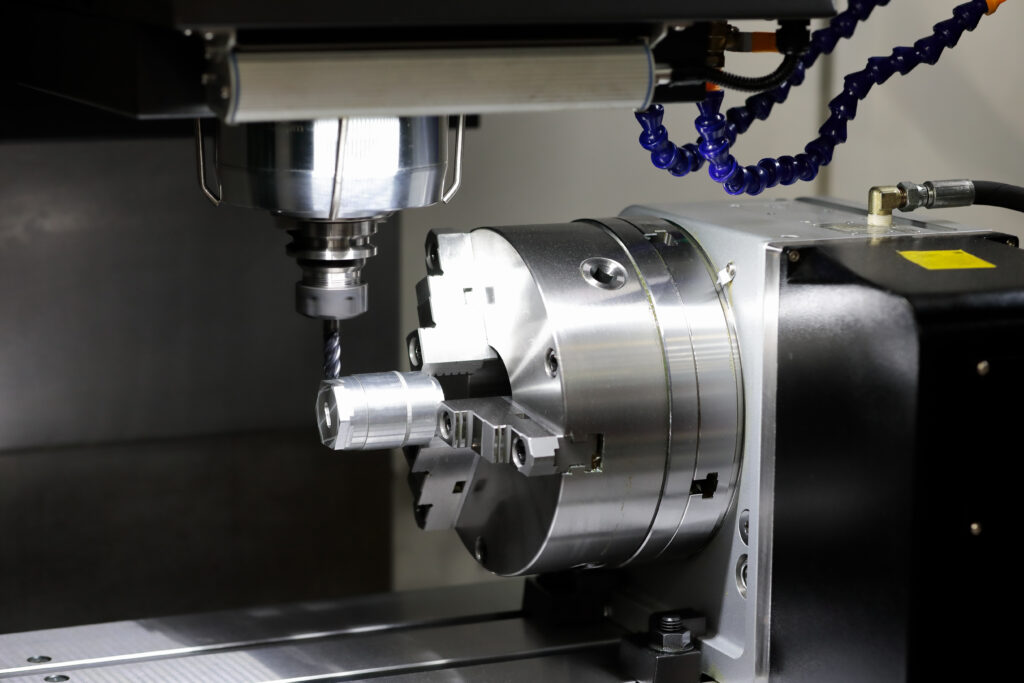
- CNC Machining: Before applying surface treatments, precision CNC (Computer Numerical Control) machining can ensure that the mold has the exact dimensions and surface finish required for optimal performance. CNC machining allows for intricate designs and high tolerances, which are crucial for parts that require a perfect fit. After CNC machining, the surface can be treated to enhance durability and performance.
-
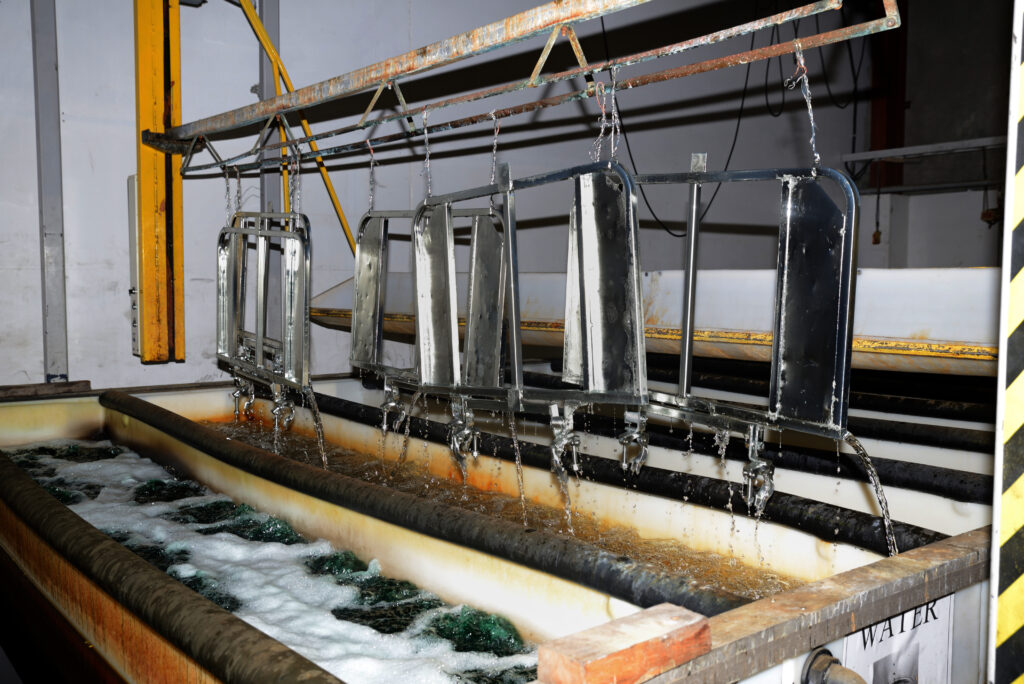
- Electropolishing: For molds requiring a smooth finish, electropolishing can be applied to remove surface imperfections and improve the overall aesthetic quality. This process enhances the mold’s ability to release the plastic part, reducing defects and improving cycle times.
Cooling System Design
1. Importance of Cooling
-
- An effective cooling system is crucial for controlling mold temperature, reducing cycle times, and ensuring consistent part quality. Proper cooling helps prevent warping and shrinkage, leading to more accurate dimensions.
2. Designing Cooling Channels
-
- Placement: Design the cooling channels to be strategically placed around the mold cavities and cores to maximize heat transfer. Channels should be as close to the part as possible without compromising structural integrity.
- Shape and Size: Use a combination of straight and curved channels to optimize flow rates and cooling efficiency. The diameter of the channels should be sufficient to allow for effective coolant circulation.
3. Type of Cooling
-
- Water Cooling: Most commonly used, water cooling channels circulate water around the mold to absorb heat.
- Chilled Water or Glycol: In some cases, chilled water or glycol is used to achieve lower temperatures, especially for heat-sensitive materials.
4. Simulation Tools
-
- Utilize simulation software to model heat transfer and fluid flow within the cooling system. This can help identify potential inefficiencies and allow for adjustments before physical fabrication begins.
By carefully designing the mold configuration, selecting appropriate materials, and implementing an efficient cooling system, you set the foundation for a successful injection molding process.
According to the steps above, you can create a mold drawings. Note the following factors:
- Detailed Drawings: Generate detailed technical drawings of the mold design, including all dimensions, tolerances, and features. Include assembly drawings for clarity.
- Review and Revise: Share the drawings with relevant stakeholders for feedback and make necessary revisions before proceeding.
Step 4: Fabricate and Test the Mold
-
Machining and Assembly
Use CNC machining to create the mold components according to your designs. This step involves milling, turning, and drilling to achieve precise dimensions; Assemble the machined components, including the mold base, core, and cavity. Ensure proper alignment and fit.
Install the cooling channels designed earlier. Ensure they are properly connected and can efficiently circulate coolant.
Set up the ejection system, which typically includes ejector pins or plates to push the finished parts out of the mold after cooling.
-
Trial Run
Conducting a trial run is a critical step to ensure the mold functions correctly and produces parts that meet specifications. Run a small batch of parts (e.g., 10-20) to minimize waste while allowing for quick adjustments. During the trial, monitor the injection process closely, looking for any signs of filling problems, such as incomplete filling or short shots, where the part is not fully formed.
-
Adjustments
After the initial run, evaluate the produced parts for defects like surface imperfections, warping, or dimensional inaccuracies. Ensure they meet design specifications and fit together properly if part of an assembly. If issues arise, analyze potential causes, such as gate and runner designs or injection machine settings. Make necessary adjustments, which may include modifying cooling channels or gate sizes. After implementing changes, conduct additional trial runs to verify that issues are resolved and repeat the evaluation process to ensure consistent quality.
Step 5: Final Adjustments and Production Setup
-
Fine-Tuning
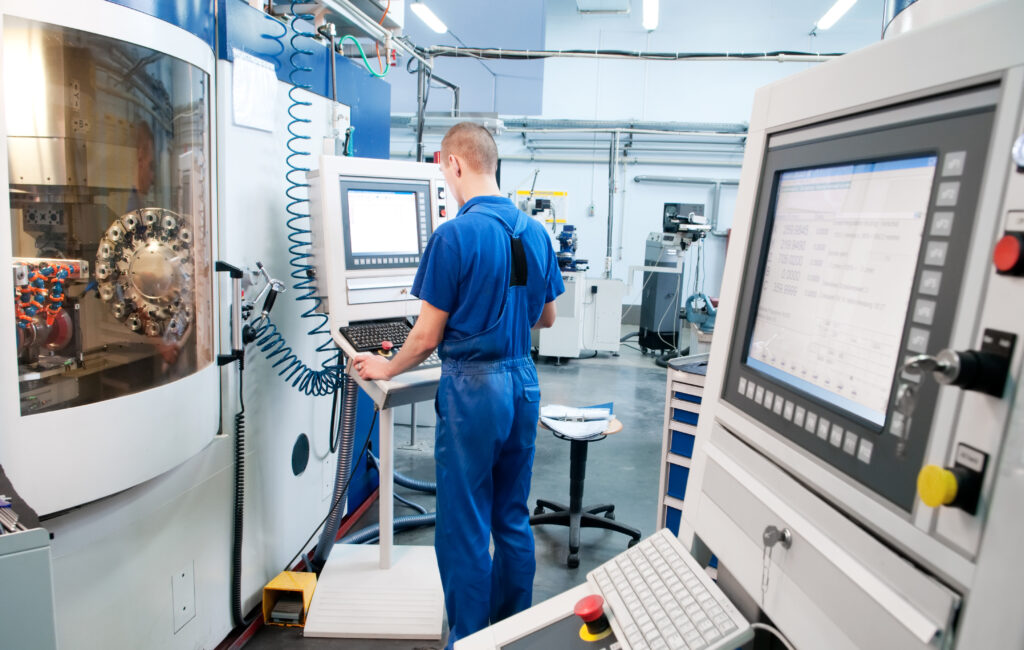
Fine-tune the cooling system, injection pressure, and cycle time to enhance part quality and production efficiency. Adjust these parameters based on trial run results to prevent warping and ensure consistent material flow, which can also lead to shorter cycle times and reduced energy use.
-
Production Readiness
Once you’re satisfied with the test results, prepare the mold for full production by conducting a final inspection and ensuring everything is functioning properly. Confirm that safety protocols are in place and that machine settings are optimized for mass production to minimize downtime and ensure reliable output.
Step 6: Production and Quality Control
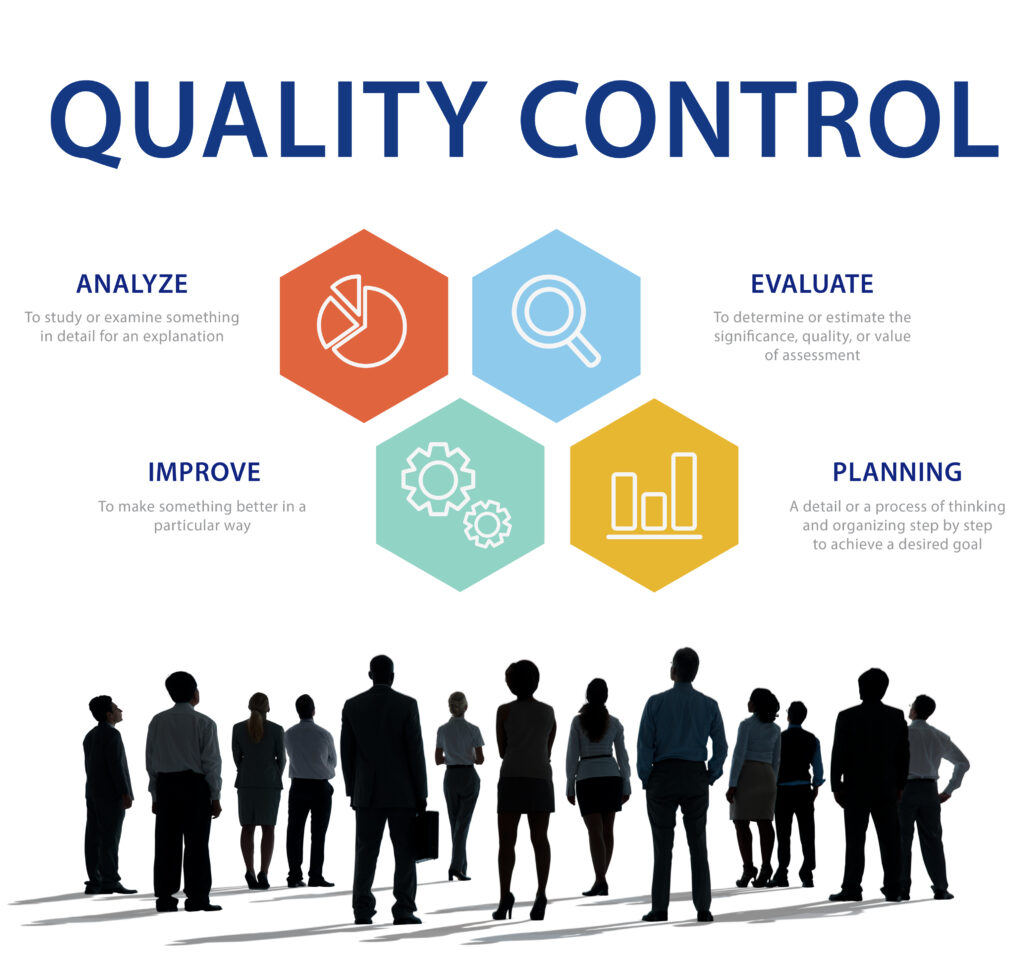
Begin mass production of the custom parts. Monitor the process closely to maintain quality.
1. Dimensional Inspections
Conduct dimensional inspections using calibrated tools to ensure that each part meets specified measurements. This includes verifying tolerances and geometric specifications to maintain accuracy.
2. Functional Testing
Incorporate functional testing to assess each part’s performance under intended use conditions. This helps ensure reliability, durability, and compliance with operational requirements.
3. Documentation and Analysis
Document all quality control findings to identify trends or recurring issues. Analyze this data to refine processes and address any persistent challenges in production quality.
4. Statistical Process Control
Employ statistical process control techniques to monitor production consistency. This allows for the prompt identification and correction of deviations from established quality standards.
Step 7: Maintenance and Troubleshooting

-
Regular Maintenance
Establish a maintenance schedule for the mold to prevent wear and tear, ensuring longevity and consistent performance.
-
Troubleshooting
Be prepared to troubleshoot issues that may arise during production, such as part defects or injection problems, and make necessary adjustments.
Conclusion
Creating your first custom plastic part can be an exciting journey filled with opportunities for innovation and creativity. We’ve covered the essential steps, from conceptualizing your design to selecting the right manufacturing process. Remember, experimentation and iteration are key—don’t hesitate to explore different ideas and approaches to achieve your vision.
If you have any questions or need support as you embark on this journey, we at KingStar Mold are here to help. Reach out to us for further information, guidance, or to discuss your project in detail.
